
STEER-TECH Fluid Service (SSM203)
$2,450.00
Coming Soon
Apple Pay and Google Pay require an account login before checkout.
Please log in or create an account first.
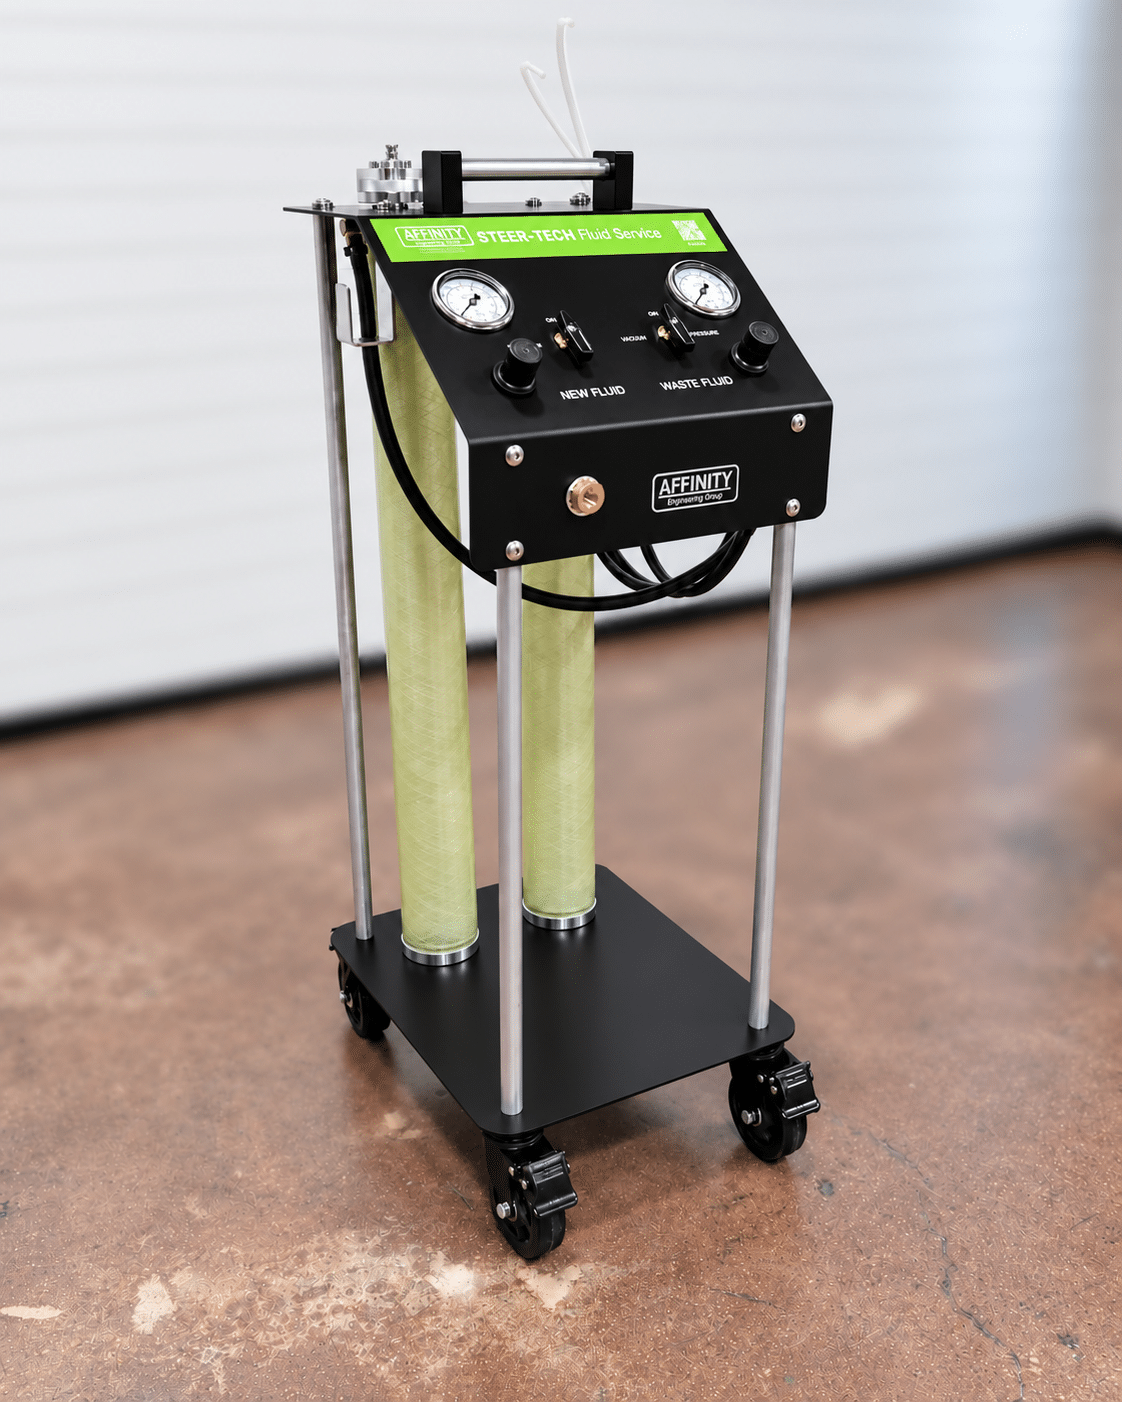
✔ Fully pneumatic design & durable valves provide long life
✔ Pneumatic vacuum generator provides excellent suction, no pump failures
✔ Flow control manifold provides precise fluid level
✔ Complete fluid exchange in 10 minutes or less
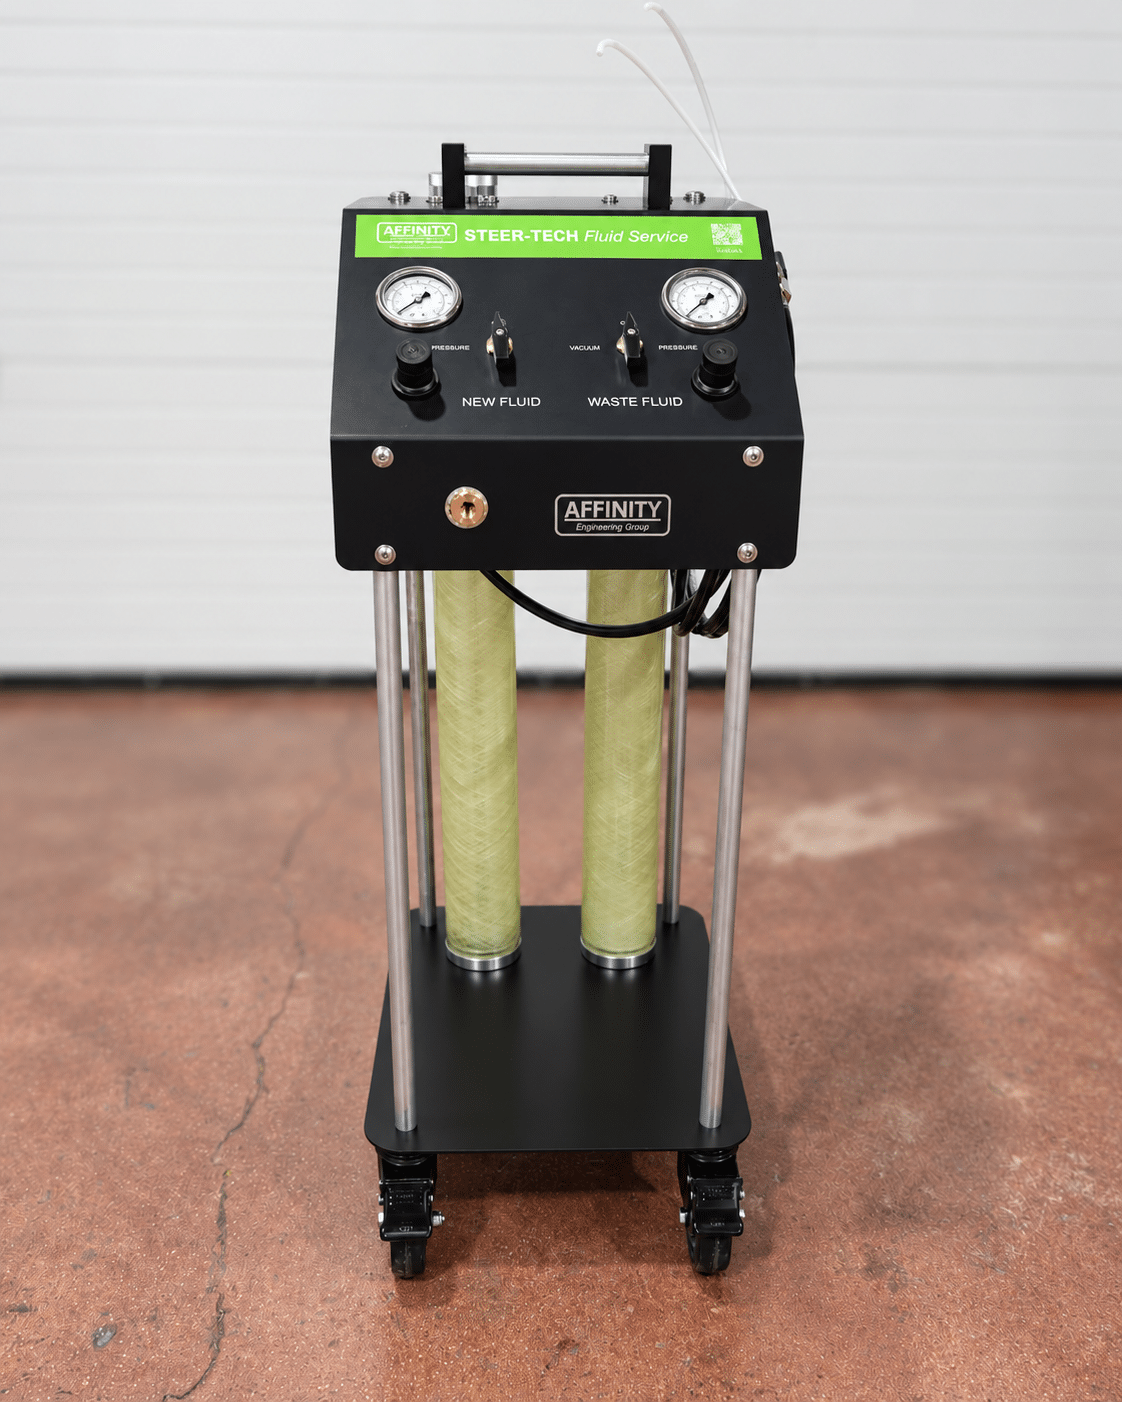
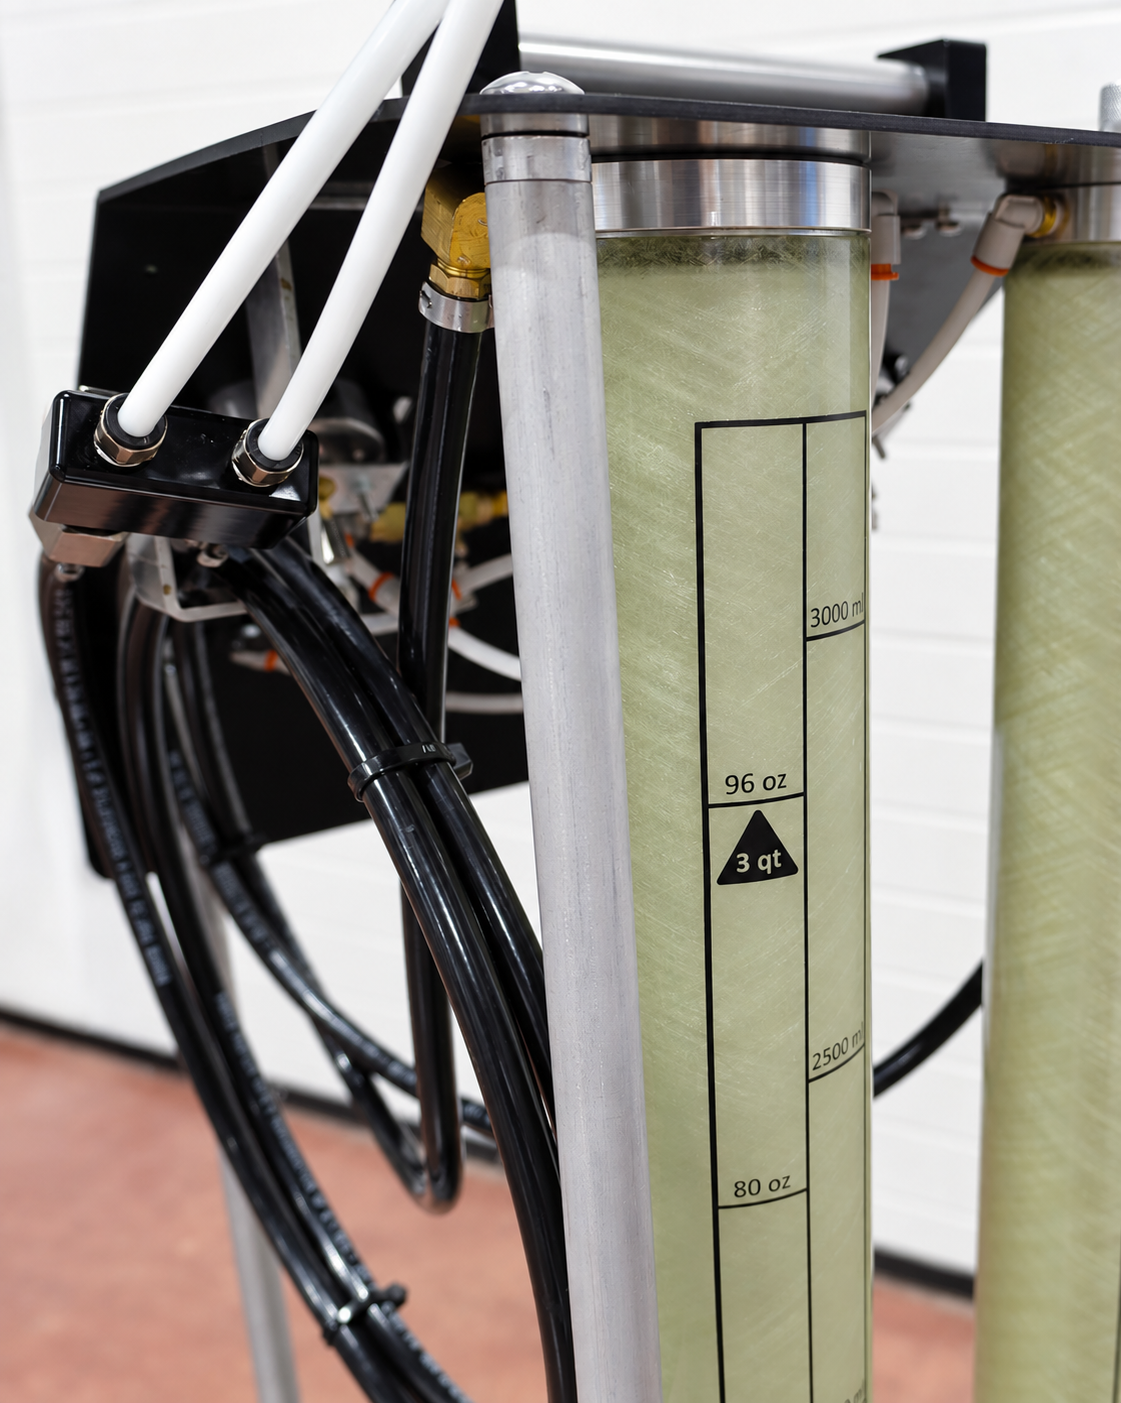
✔ Clear 3 qt. tanks for easy monitoring
✔ Adjustable flow speeds for quick service
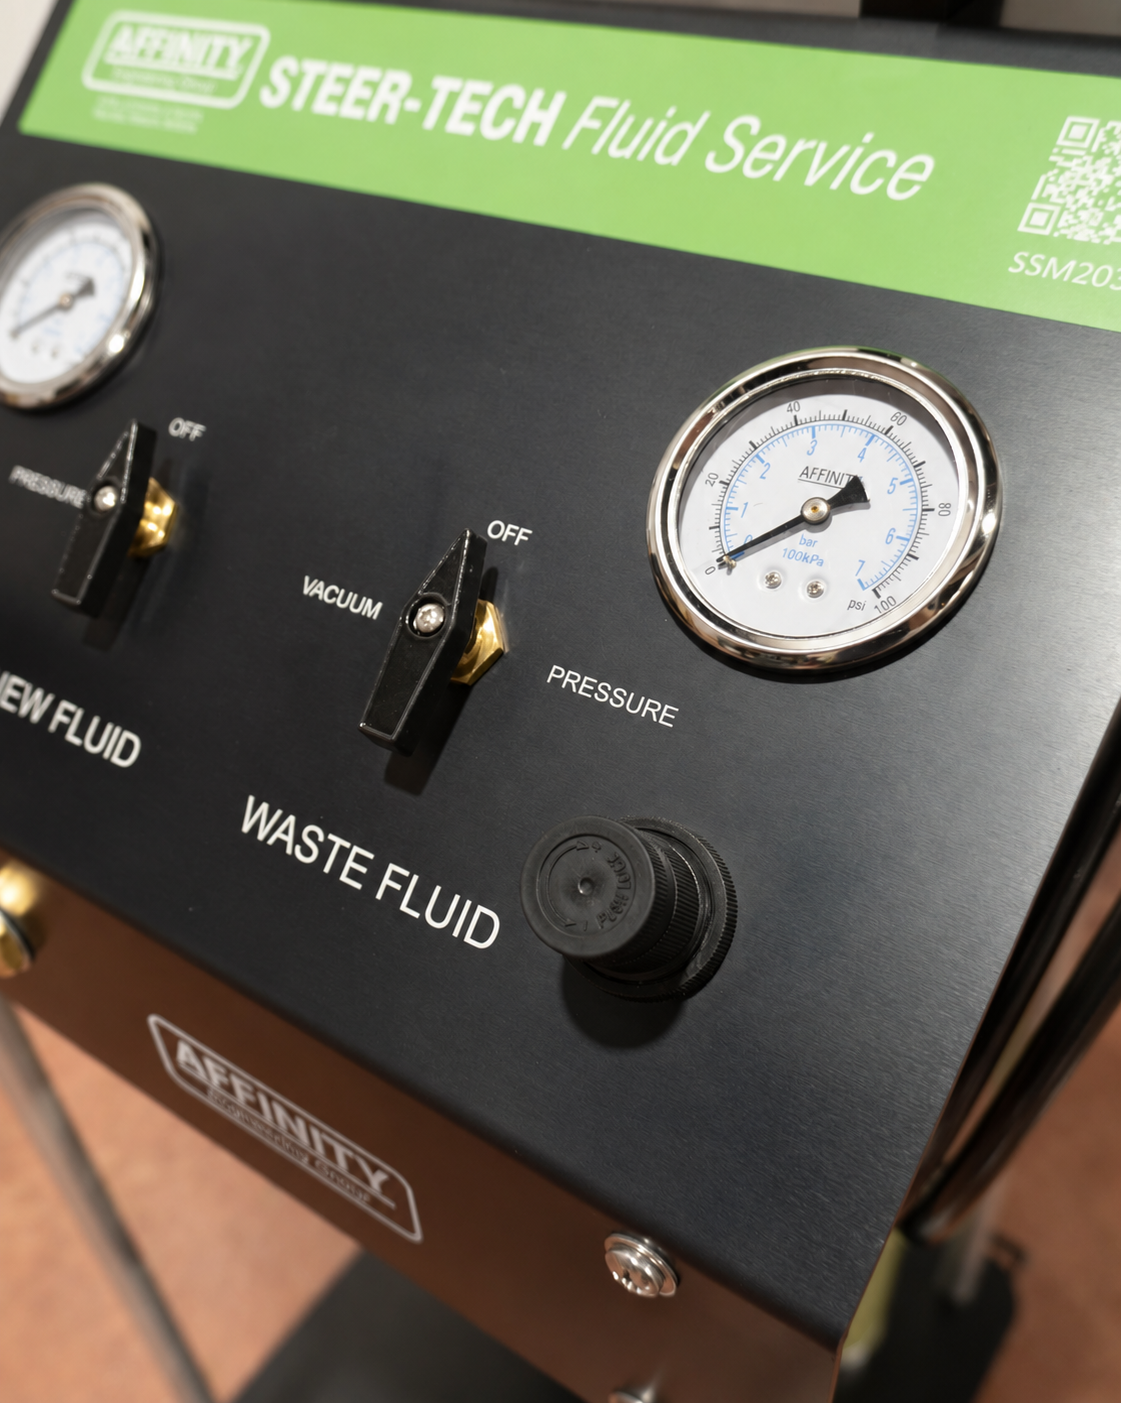
✔ Separate controls for new and waste fluids
✔ Low-fluid valve provides soft, end of new fluid service
✔ Durable, well-balanced cart with easy-roll casters
✔ Durable black anodized panel with laser-etched notes
| Weight | 35 lbs |
|---|---|
| Dimensions | 17.5 × 15 × 41 in |
JOB AID
Service Instructions
FOR BRAKE SERVICE:
① Check the panel to confirm all valves are in the “OFF” position.
② Check the new fluid tank gauge (or pressure release button on the cap) to confirm the new fluid tank is depressurized. If not, rotate the valve to “Pressure” to vent the tank. Return to “OFF”.
③ Remove new fluid tank cap and fill the tank with the appropriate power steering fluid for the vehicle being serviced. Reinstall the tank cap and tighten snugly.
④ Connect the shop air to the lower front panel. If this is the first time of use, you may need to install a male airline fitting on the machine.
⑤ Open the vehicle hood and remove the power steering fluid reservoir cap. Turn the WASTE FLUID valve to “VACUUM” and set the pressure to 30-40 psi. A higher setting can be used but is not required to perform an effective exchange service.
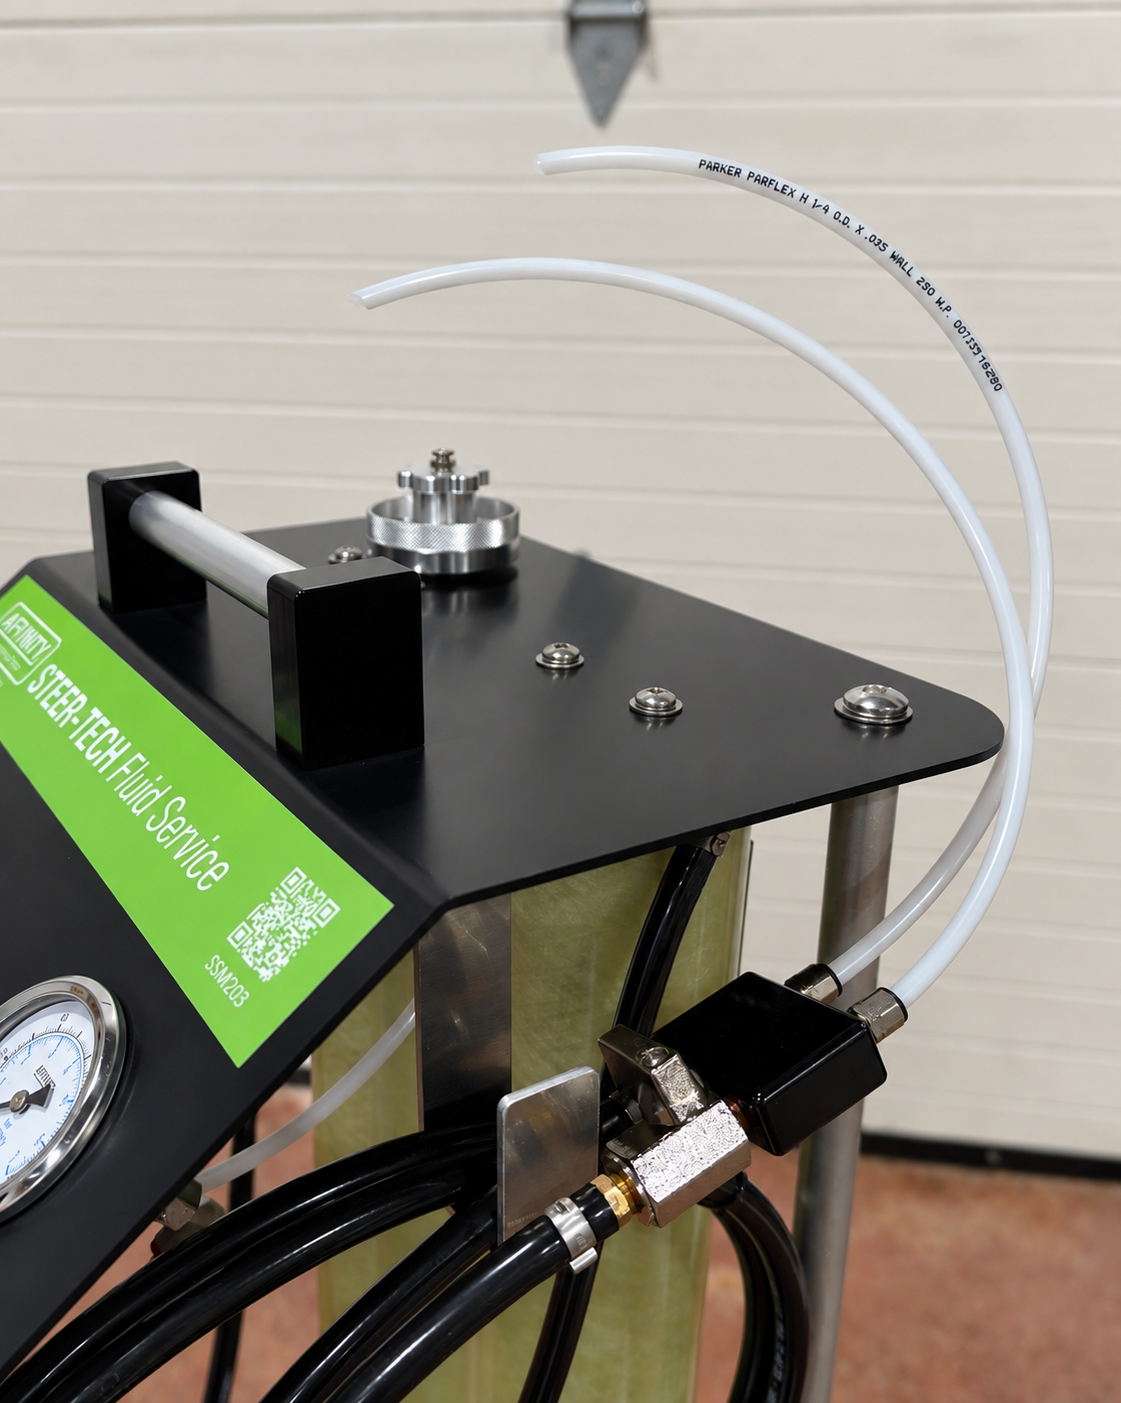
⑥ Insert the shorter suction tube (no valve on the service manifold) and remove all the old fluid from the power steering pump reservoir. Turn the valve back to “OFF” when complete.
⑦ Add the power steering cleaner to the power steering pump reservoir. Start the engine and cycle the steering wheel back and forth periodically to circulate the cleaner through the entire power steering system.
⑧ Install both process tubes into the power steering reservoir. Turn the WASTE FLUID valve to “VACUUM” and the NEW FLUID valve to “PRESSURE” and set the pressure to 25-30 psi. Slowly open the new fluid process valve on the service manifold and monitor the fluid level in the reservoir. It may be helpful to hold a pen light in the same hand holding the process tubes, shining down into the reservoir to improve fluid level visibility.
⑨ The waste tube suction should help maintain a consistent level of fluid in the reservoir. NEW FLUID or WASTE FLUID pressure can be slightly adjusted to fine-tune the balance. Shut the new flow process valve on the manifold if the fluid level rises too high. Open again when the level drops.
⑩ As the new fluid level in the STEER-TECH new fluid tank approaches the bottom, move the process tubes to an appropriate level in the reservoir. The new fluid flow will stop automatically when the low-level valve in the new fluid tank stops new fluid flow.
⑪ When the service is complete, close the new fluid valve on the process manifold and move both valves on the panel to “OFF”.
⑫ Return the cap to the power steering reservoir.
⑬ Empty the waste fluid tank after each service by attaching shop air, positioning the waste fluid tube in an appropriate disposal container, and moving the WASTE FLUID valve to “PRESSURE”. Be careful as the waste tank empties to control the air blow out when the tank is empty. Move the valve immediately to “OFF”.
⑭ Remove the air hose connection. To depressurize the new fluid tank, turn the valve to “PRESSURE” with the air hose removed. Once the pressure is fully relieved, return the valve to “OFF,” and it is ready for the next service.
Only logged in customers who have purchased this product may leave a review.
Reviews