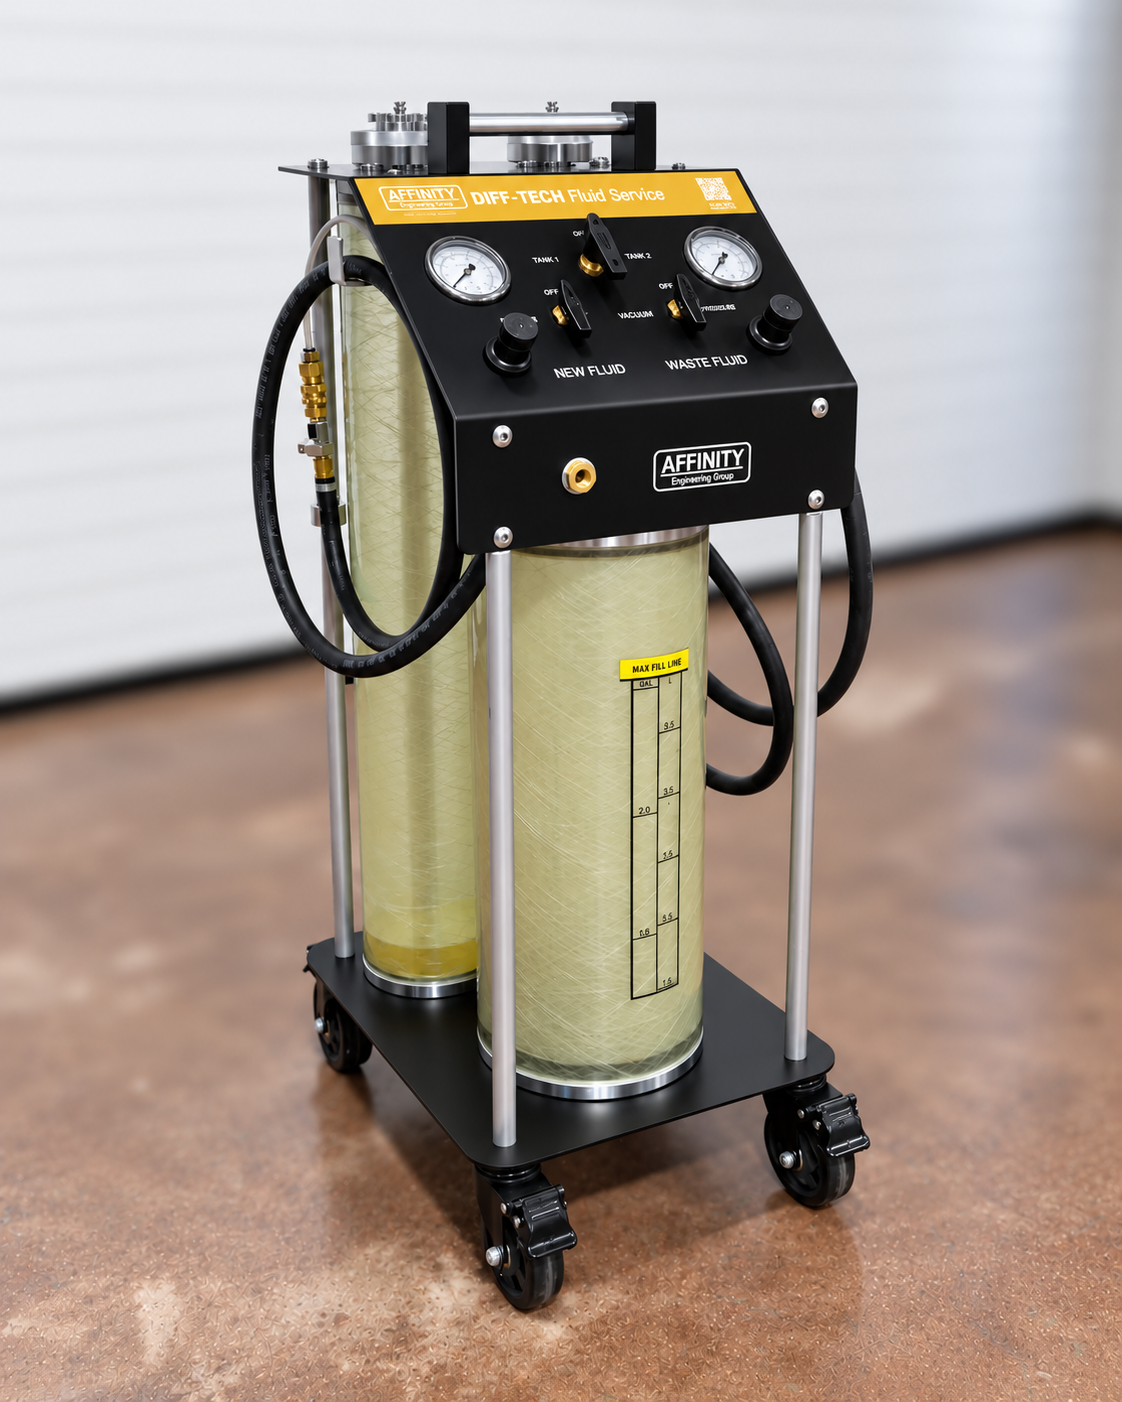
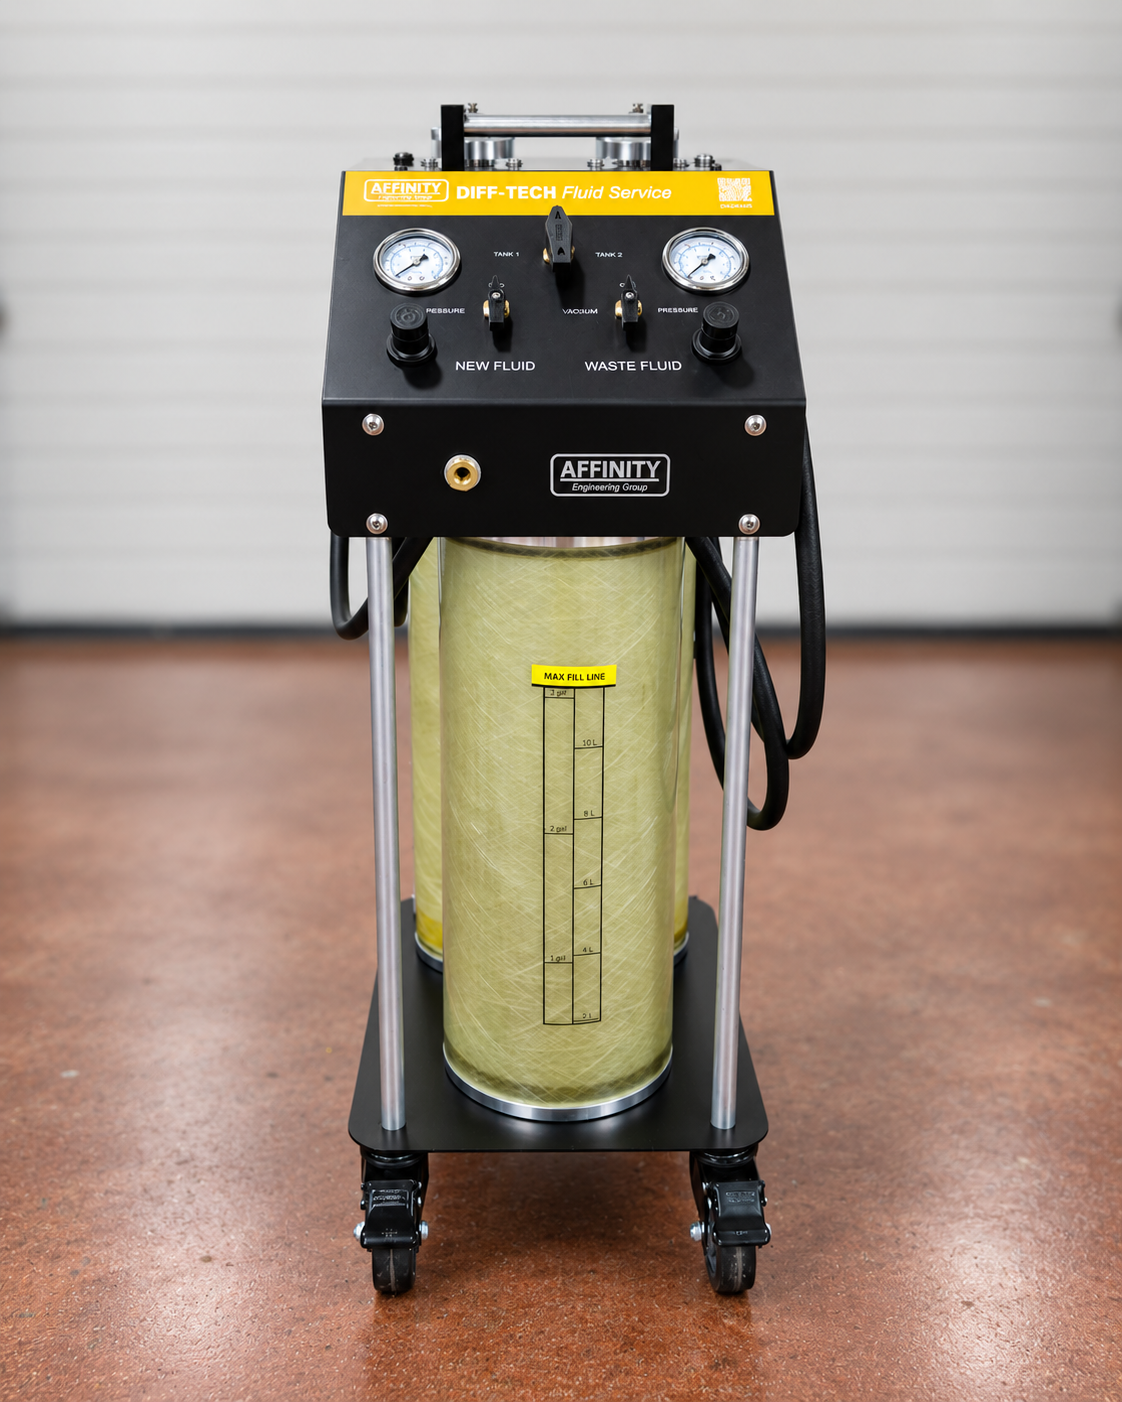
DIFF-TECH Fluid Service (DSM205)
$3,395.00
Coming Soon
Apple Pay and Google Pay require an account login before checkout.
Please log in or create an account first.
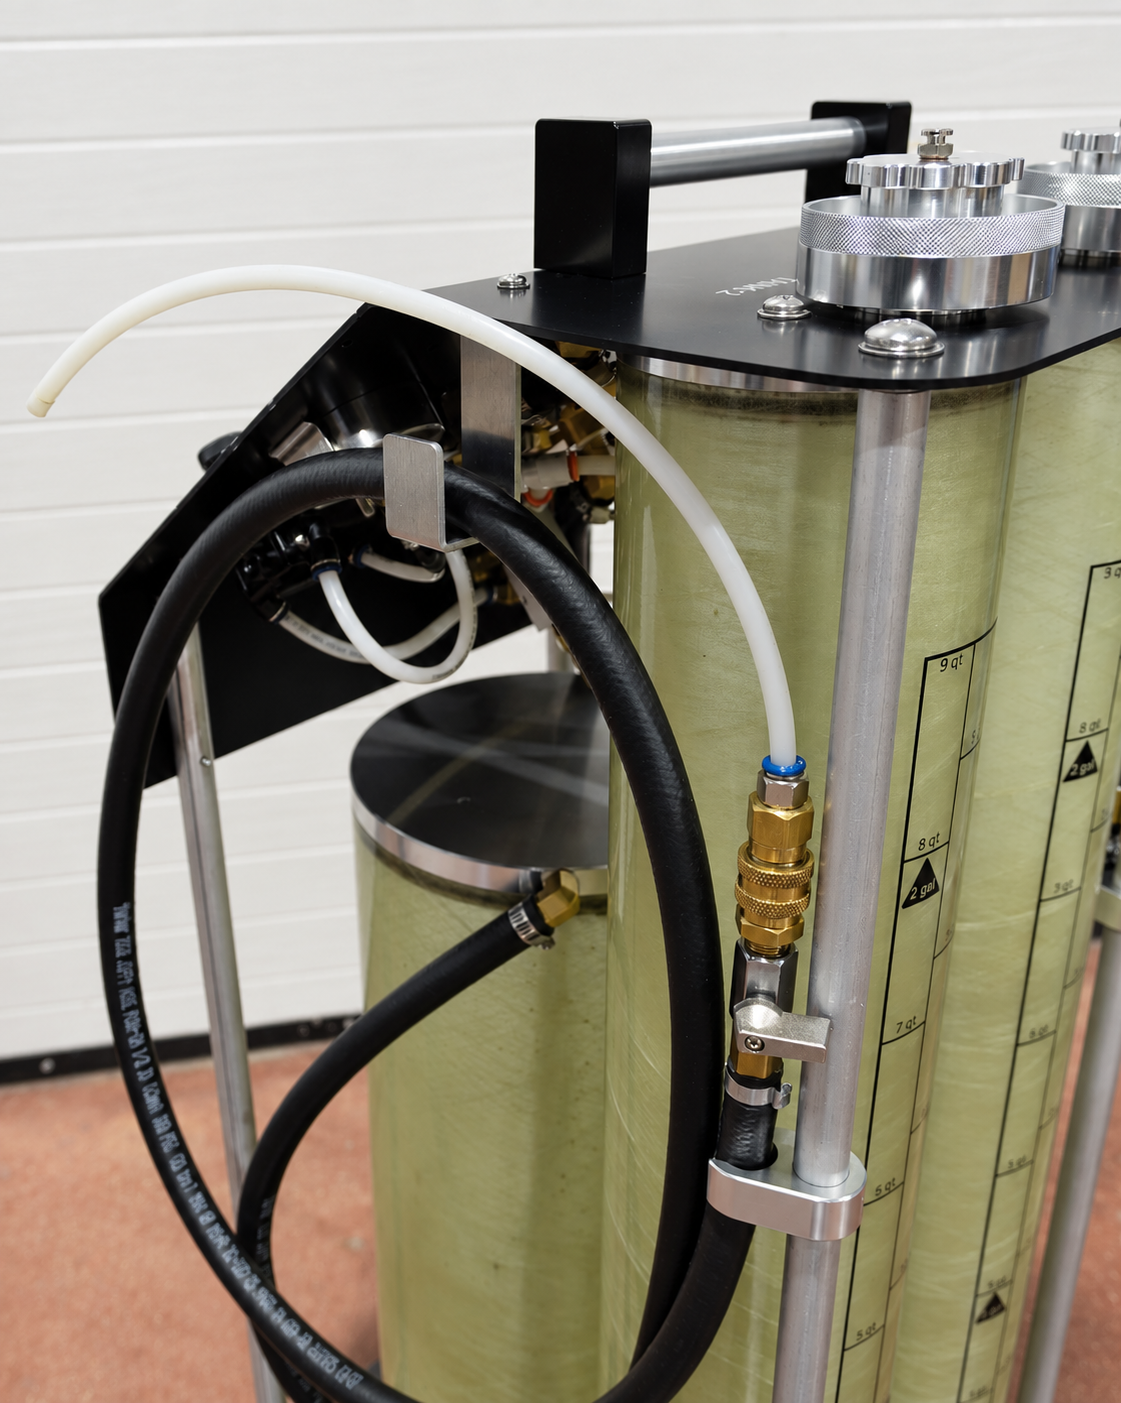
✔ Fully pneumatic design & durable valves provide long life
✔ Pneumatic vacuum generator provides excellent suction, no pump failures
✔ Services differentials, manual transmissions, transfer cases, and oil-based systems
✔ Can remove old engine oil, pull fluid from transmission pans, and empty power steering reservoirs
✔ Dual new-fluid tanks allow multiple fluid options
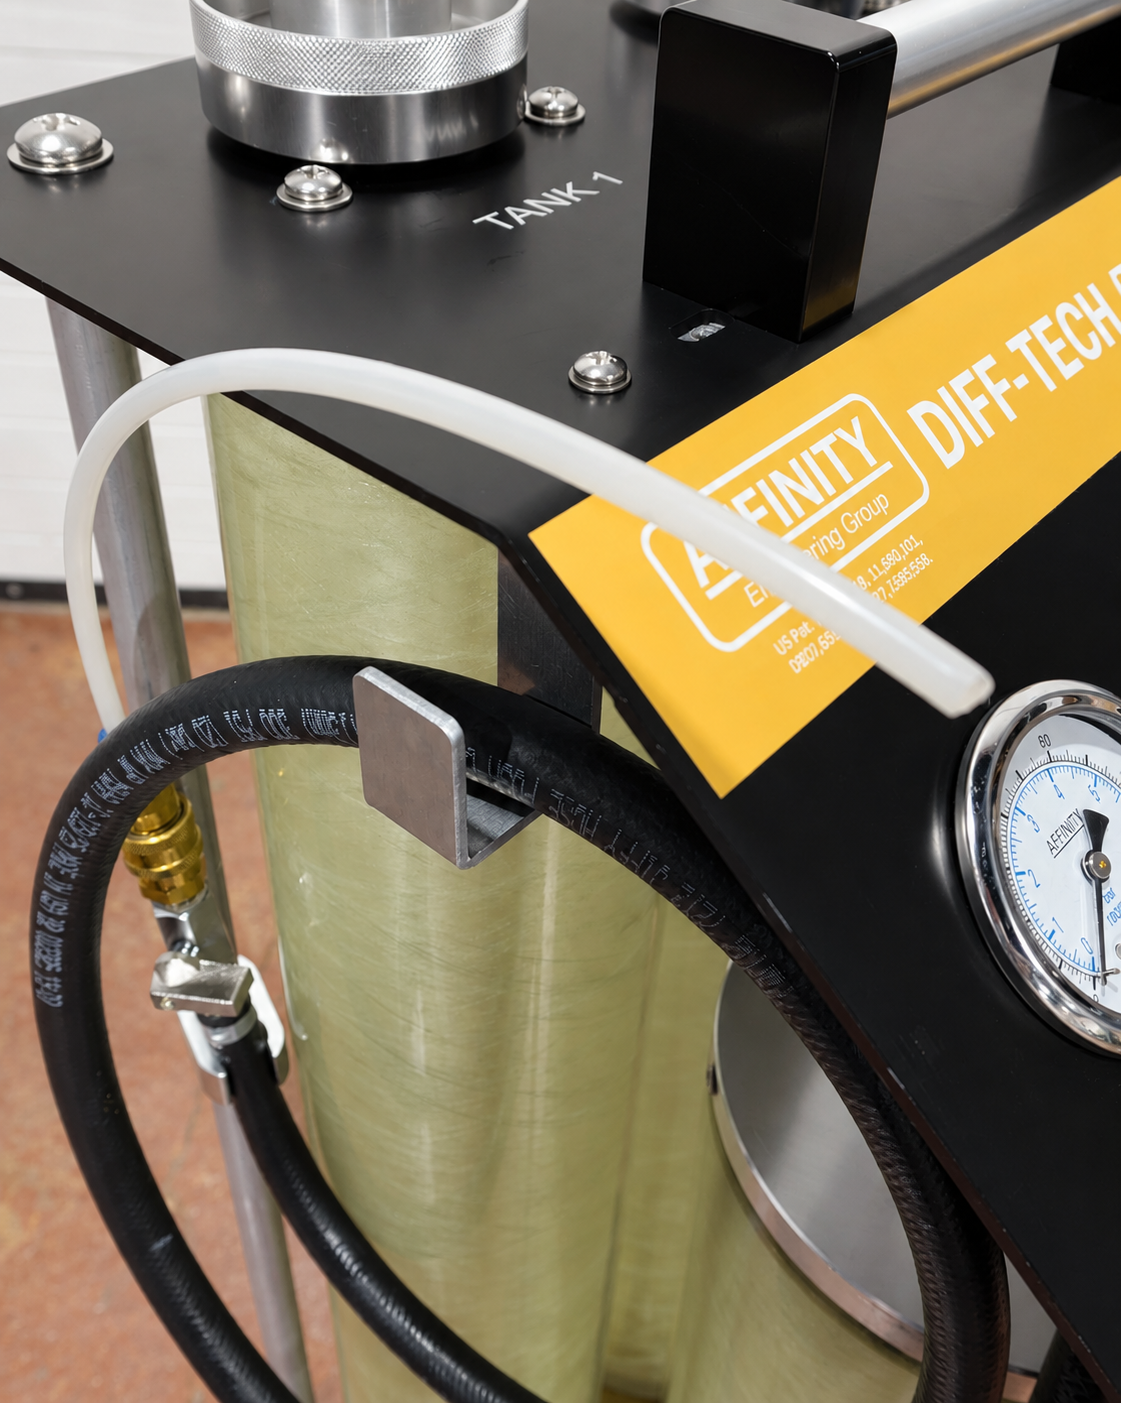
✔ Separate hoses help reduce fluid cross-contamination
✔ Handheld dispenser with start/stop trigger supports controlled filling
✔ Large waste-fluid tank reduces the need to dump fluids during service
✔ Adjustable flow speeds for quick, controlled service
✔ Interchangeable 1/4” and 3/8” service tubes support different applications
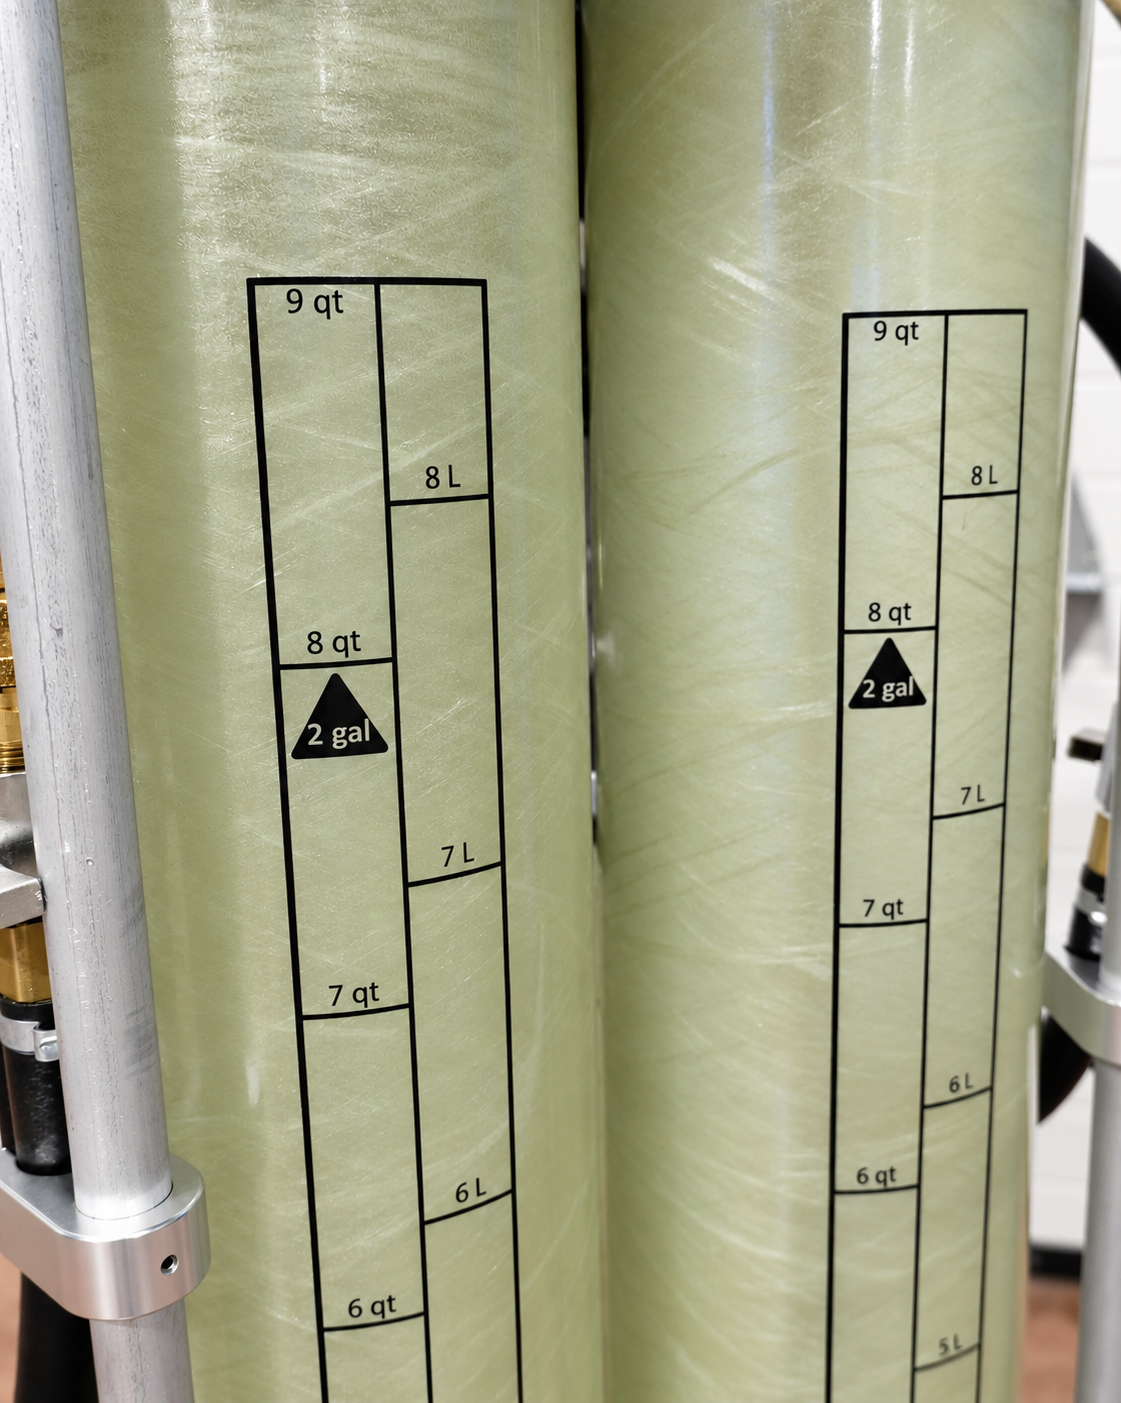
✔ Clear tank design allows easy visual level monitoring
✔ Simple service-mode selection for fill, remove, and other functions
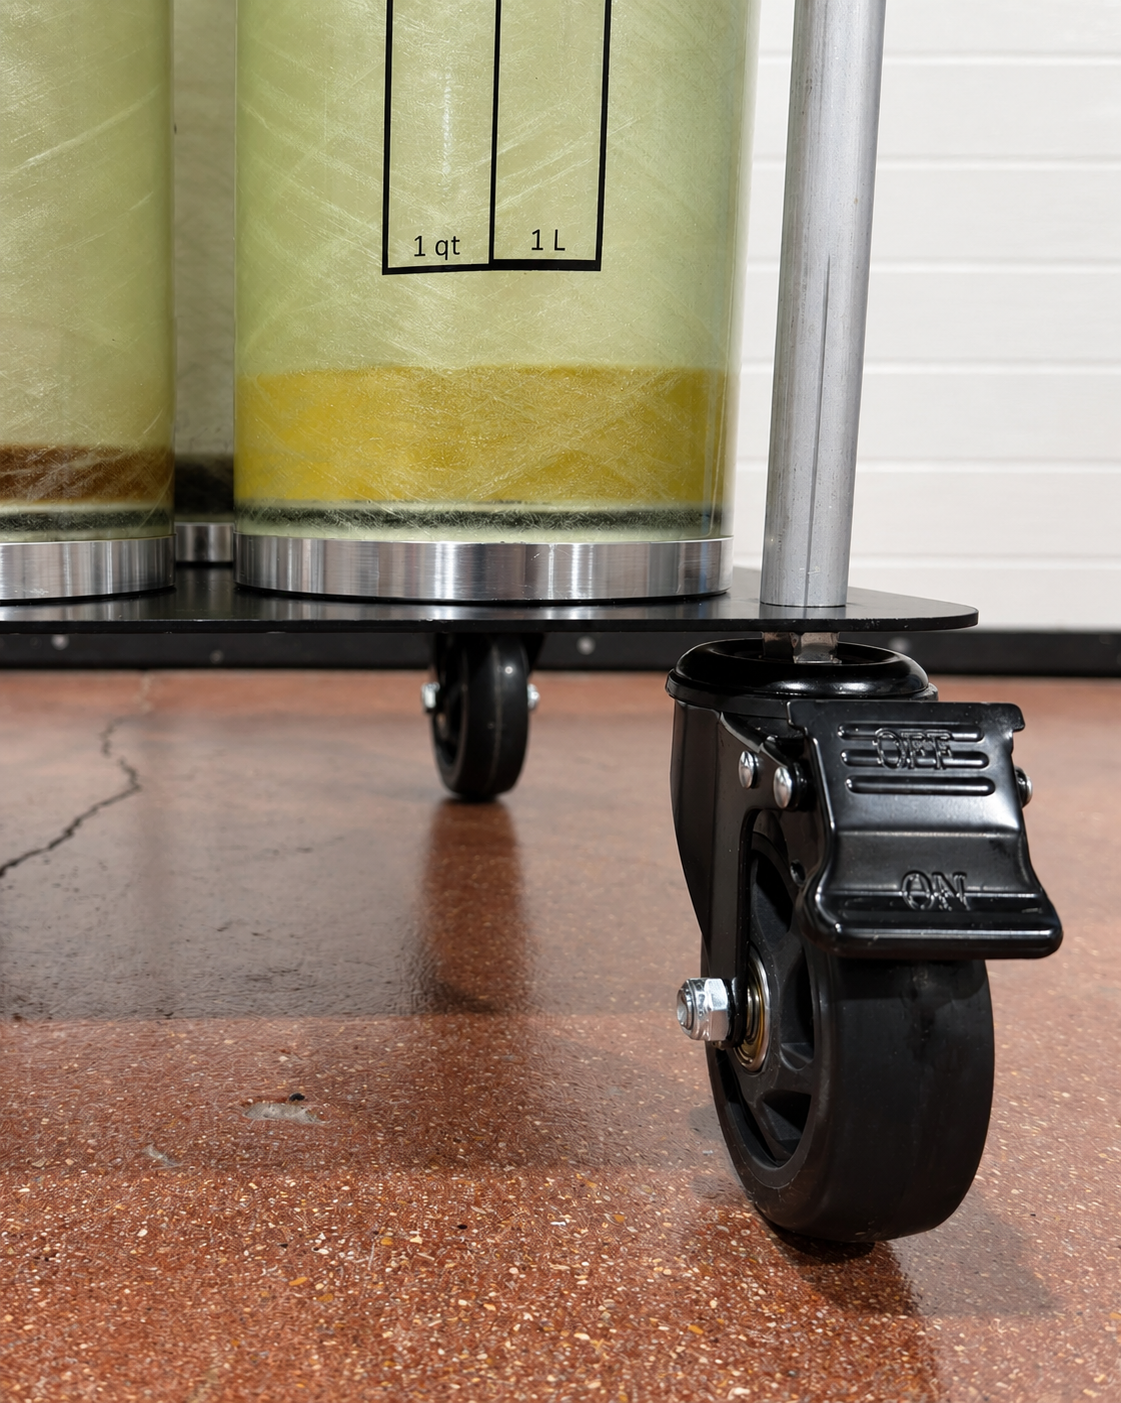
✔ Durable, well-balanced cart with easy-roll casters
✔ Durable black anodized panel with laser-etched notes
| Weight | 63 lbs |
|---|---|
| Dimensions | 17.5 × 14 × 41 in |
JOB AID
Service Instructions
FOR DRIVELINE SERVICE:
① Check the panel to confirm all valves are in the “OFF” position.
② Check the new fluid tank gauge (or pressure release button on the cap) to confirm the new fluid tanks are depressurized. If not, rotate the NEW FLUID valve to “Pressure” to vent the tank. Return to “OFF”.
③ Remove new fluid TANK 1 and TANK 2 caps and fill each tank with the appropriate drive line fluids (differential and/or transfer case) and volume for the vehicle being serviced. Reinstall the tank caps and tighten snugly.
④ Connect the shop air to the lower front panel. If this is the first time of use, you may need to install a male airline fitting on the machine.
⑤ Raise the vehicle and remove the fill port for the first system being serviced. Position the new fluid valve to TANK 1 or TANK 2 to select the appropriate fluid for that driveline system. Turn the WASTE TANK valve to “VACUUM” and set the pressure to 40-45 psi.
⑥ Insert the waste fluid suction tube deeply into the system fill port and open the process line valve. Remove all the driveline fluid from that system. Close the process hose valve and turn the WASTE TANK valve back to “OFF” when complete, and hang the waste fluid hose back on the DIFF-TECH hose hanger.
⑦ Set the NEW FLUID pressure to 40-45 psi. Ensure the new fluid process hose is closed and insert the tube into the fill port for the system being serviced. Open the new fluid hose valve and fill the system with new fluid. When fluid begins draining back out of the fill port, close the new fluid hose valve and return the hose to the DIFF-TECH hose hanger and reinstall the fill port cap snugly. Use brake cleaner to wipe off any residual fluid from the service.
⑧ Move the DIFF-TECH machine to the next driveline system to be serviced. Choose the appropriate new fluid tank for the next system and repeat steps 6 & 7 until all driveline systems have been serviced.
⑨ When all the systems have been serviced, move the machine from under the vehicle and lower the vehicle to the floor.
⑩ Empty the waste fluid tank after each service by attaching shop air, positioning the waste fluid hose in an appropriate disposal container, and moving the WASTE FLUID valve to “PRESSURE”. Open the waste hose valve slowly so the waste fluid is pushed from the waste fluid tank. Be careful as the waste tank empties to control the air blow out when the tank is empty. Move the valve immediately to “OFF”.
⑪ Remove the air hose connection. To depressurize the new fluid tanks, turn the NEW FLUID valve to “PRESSURE” with the air hose removed. Once the pressure is fully relieved, return the valve to “OFF,” and it is ready for the next service.
Only logged in customers who have purchased this product may leave a review.
Reviews