
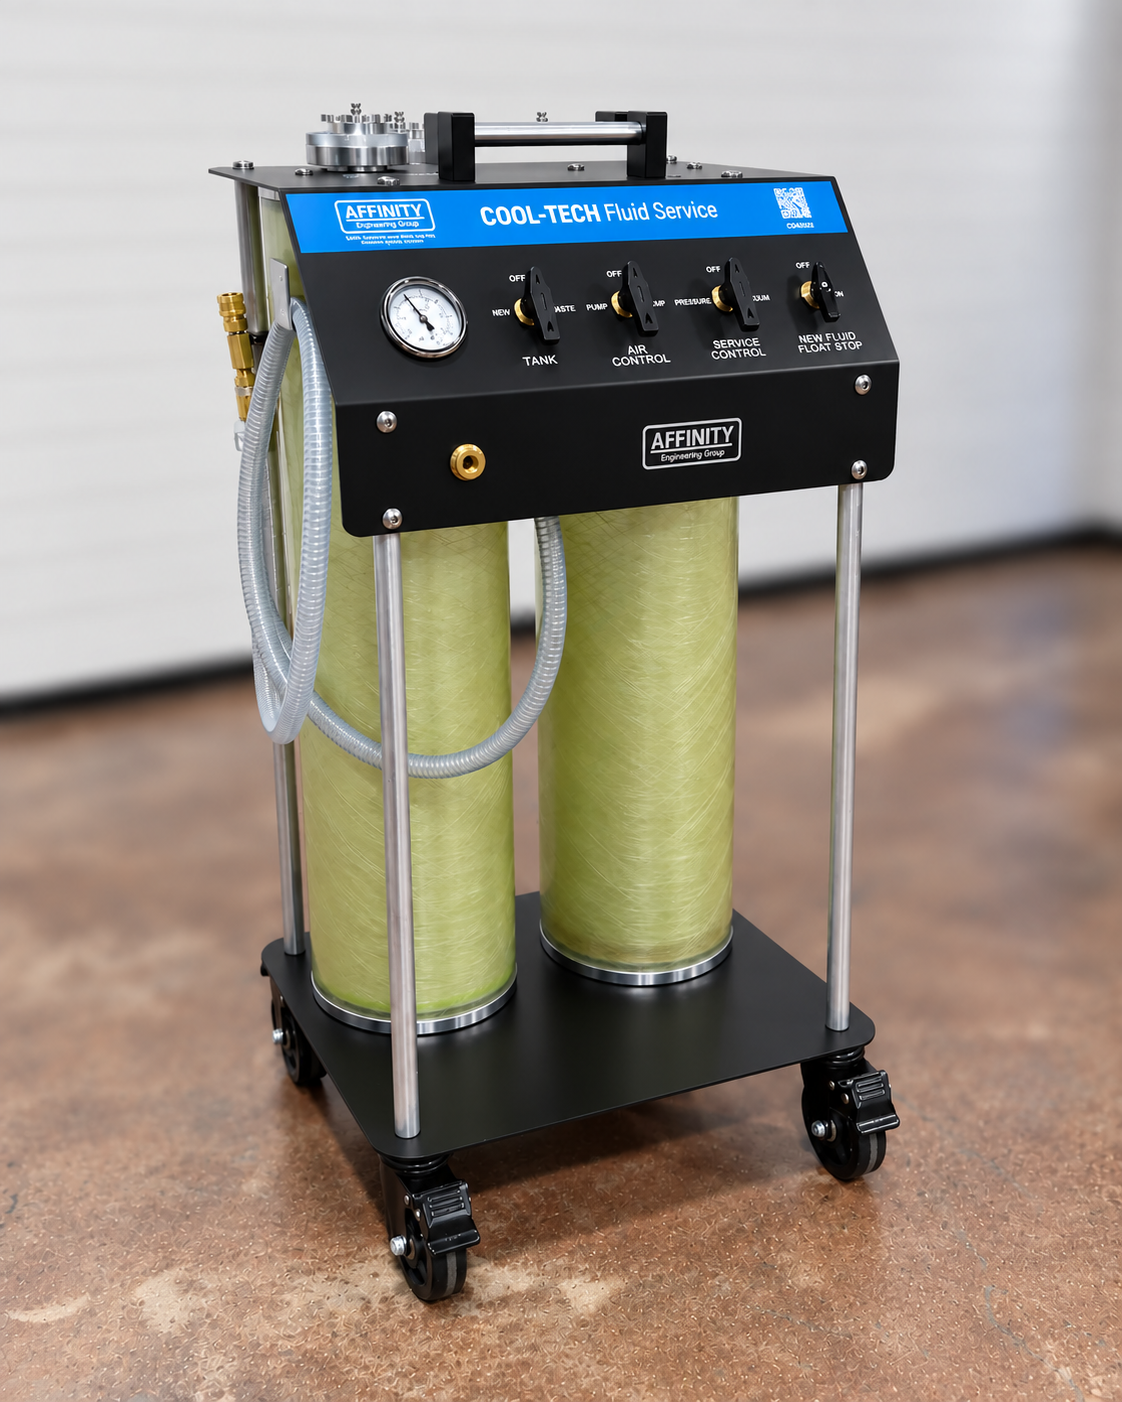
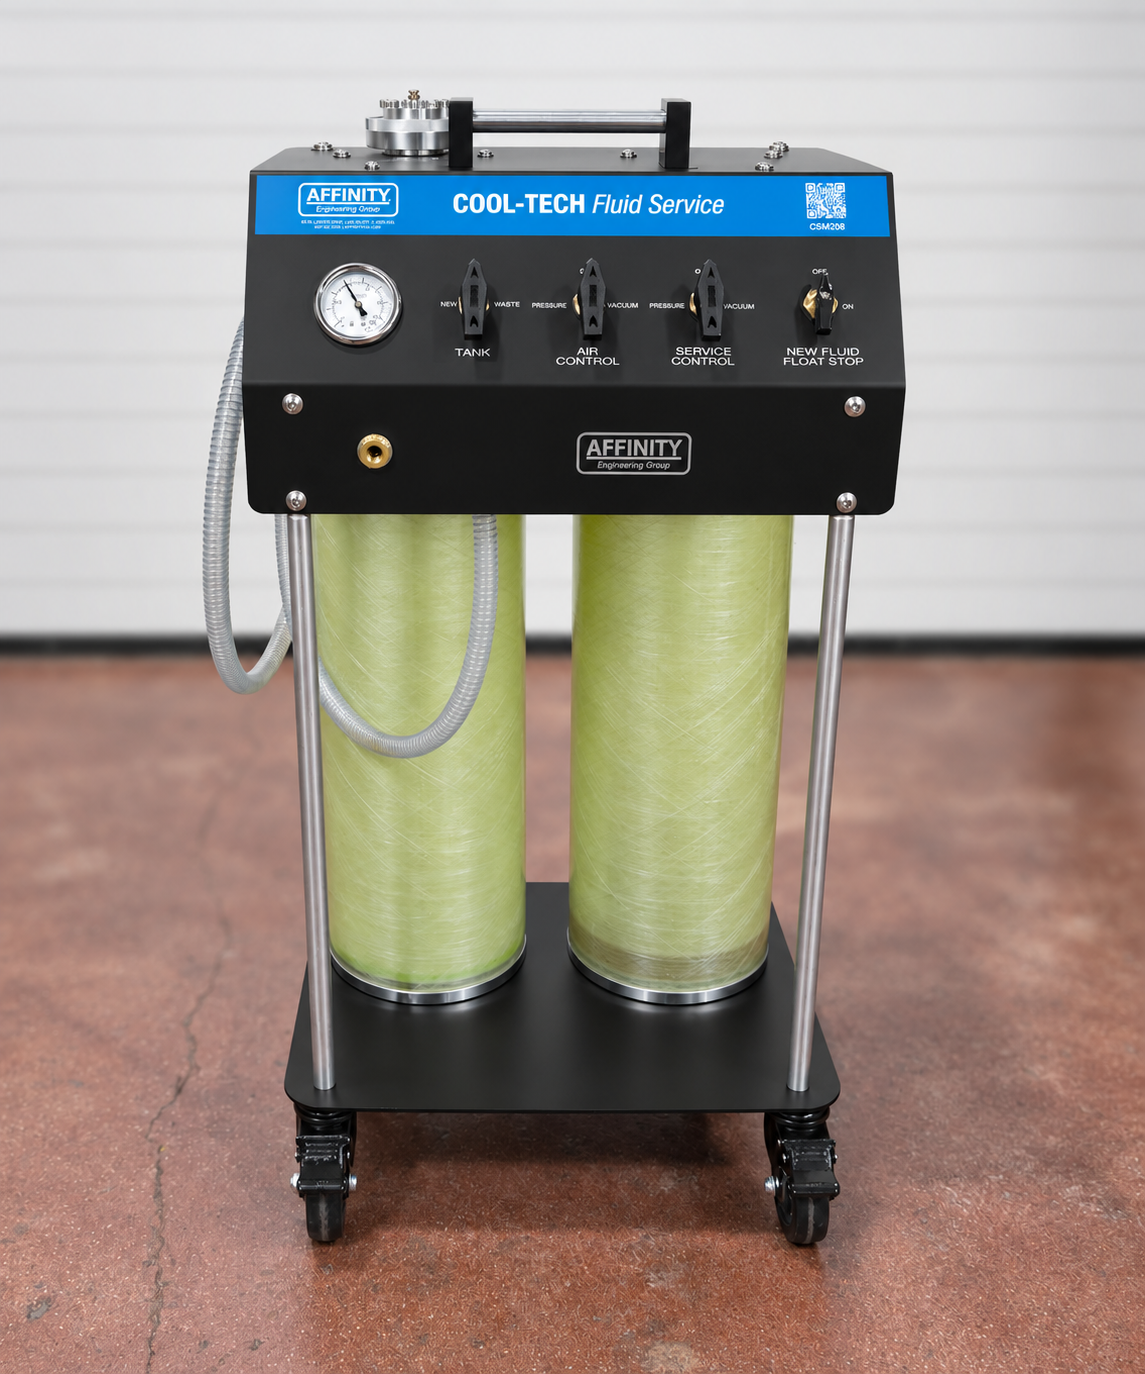
COOL-TECH Fluid Service (CSM208)
$3,895.00
Coming Soon
Apple Pay and Google Pay require an account login before checkout.
Please log in or create an account first.
✔ Fully pneumatic design & durable valves provide long life
✔ Vacuum-style removal and refill of coolant fluid
✔ Helps restore cooling system heat transfer efficiency
✔ No need to disconnect radiator hoses
✔ Twin-tube design provides both vacuum & pressure service
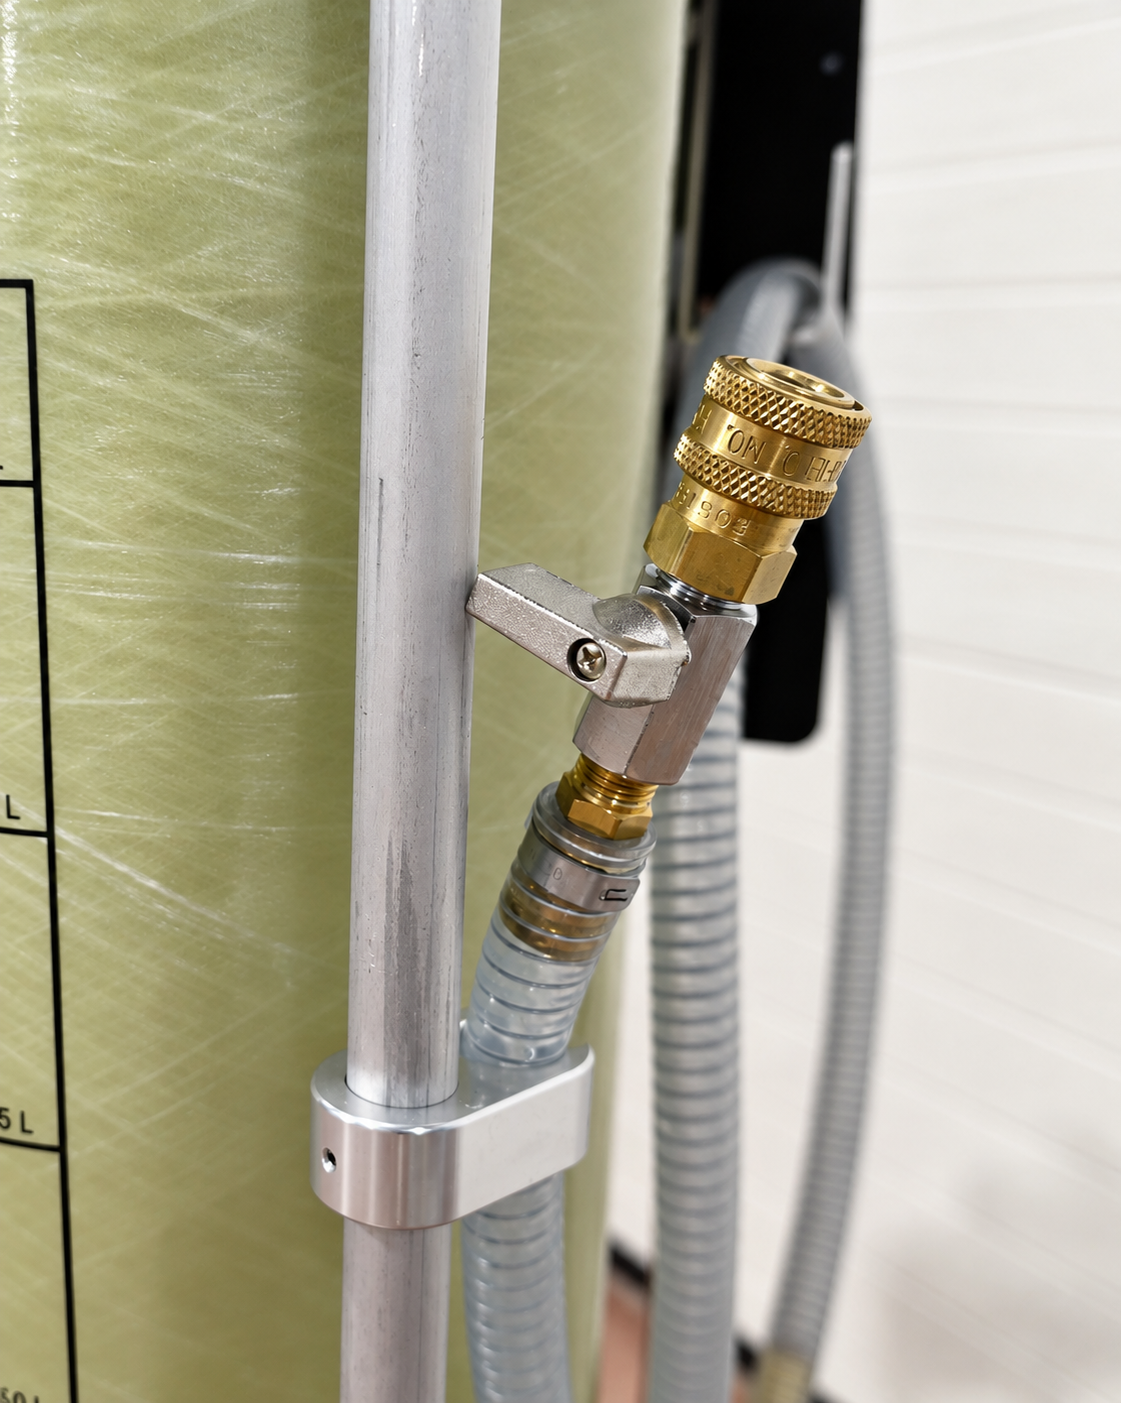
✔ Large service hose supports quick fluid exchange
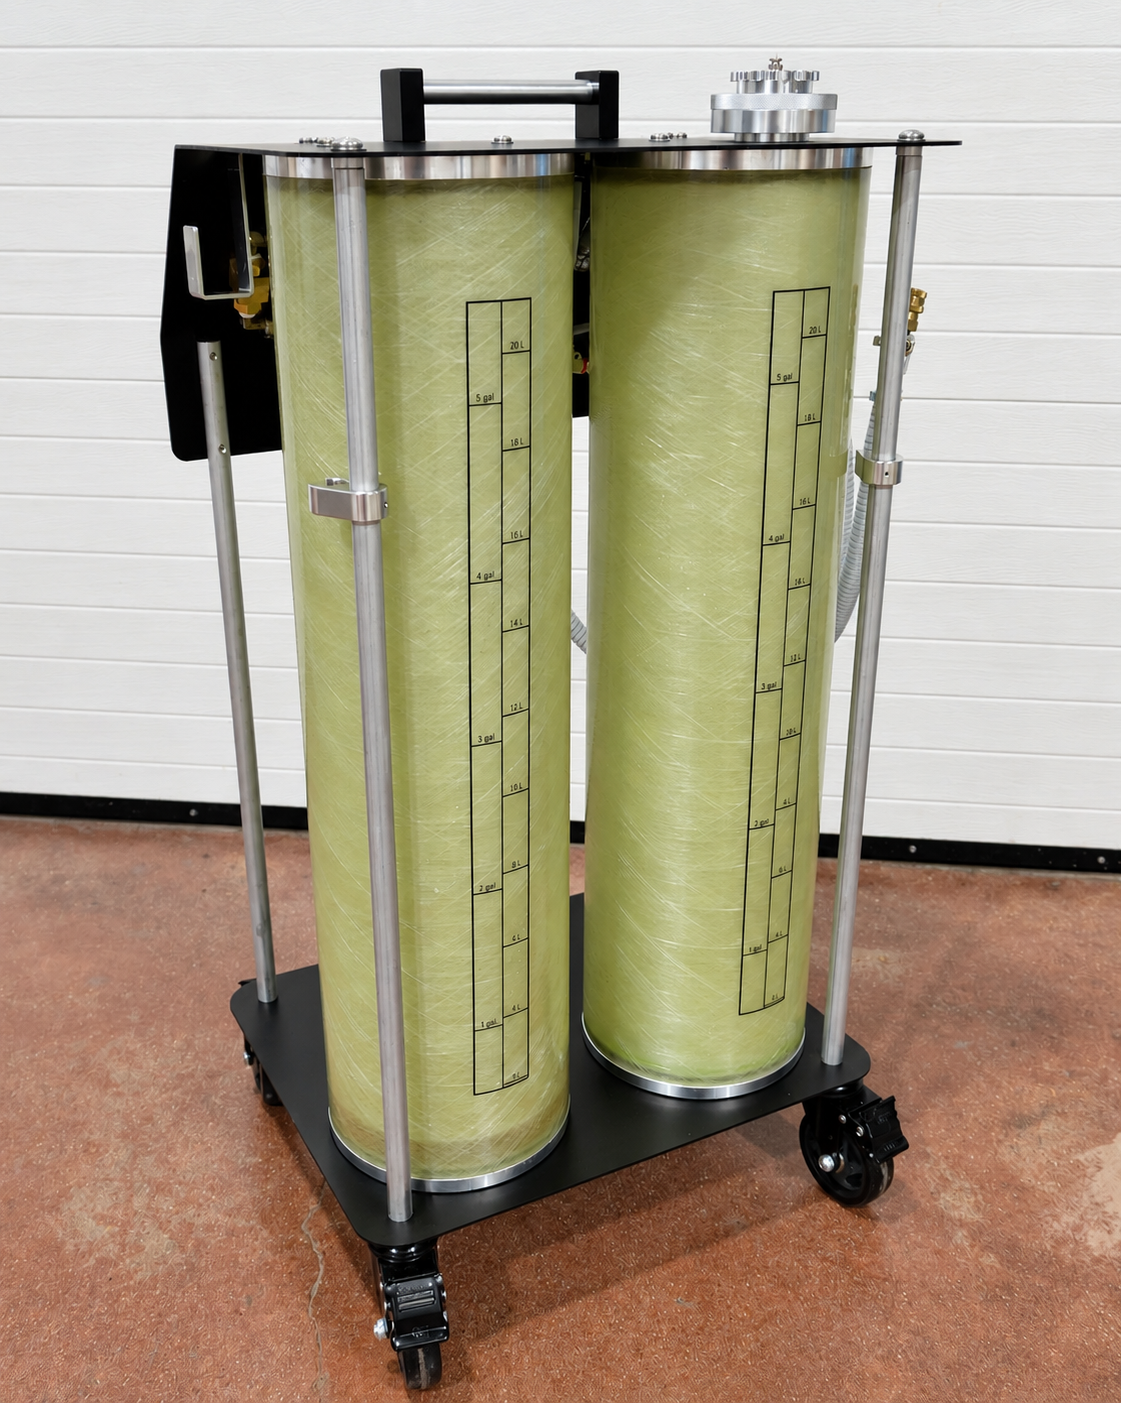
✔ Clear 5 1/2 gallon waste tank allows easy visual level monitoring
✔ Patented shut-off valve prevents air from being pushed into the system
✔ Retains top-off fluid to adjust system level after fluid exchange
✔ Adjustable rubber service cones help provide a secure vacuum seal
✔ Stepped adapters for pressure service through de-gas reservoir
✔ Easy-roll cart with robust casters for shop portability
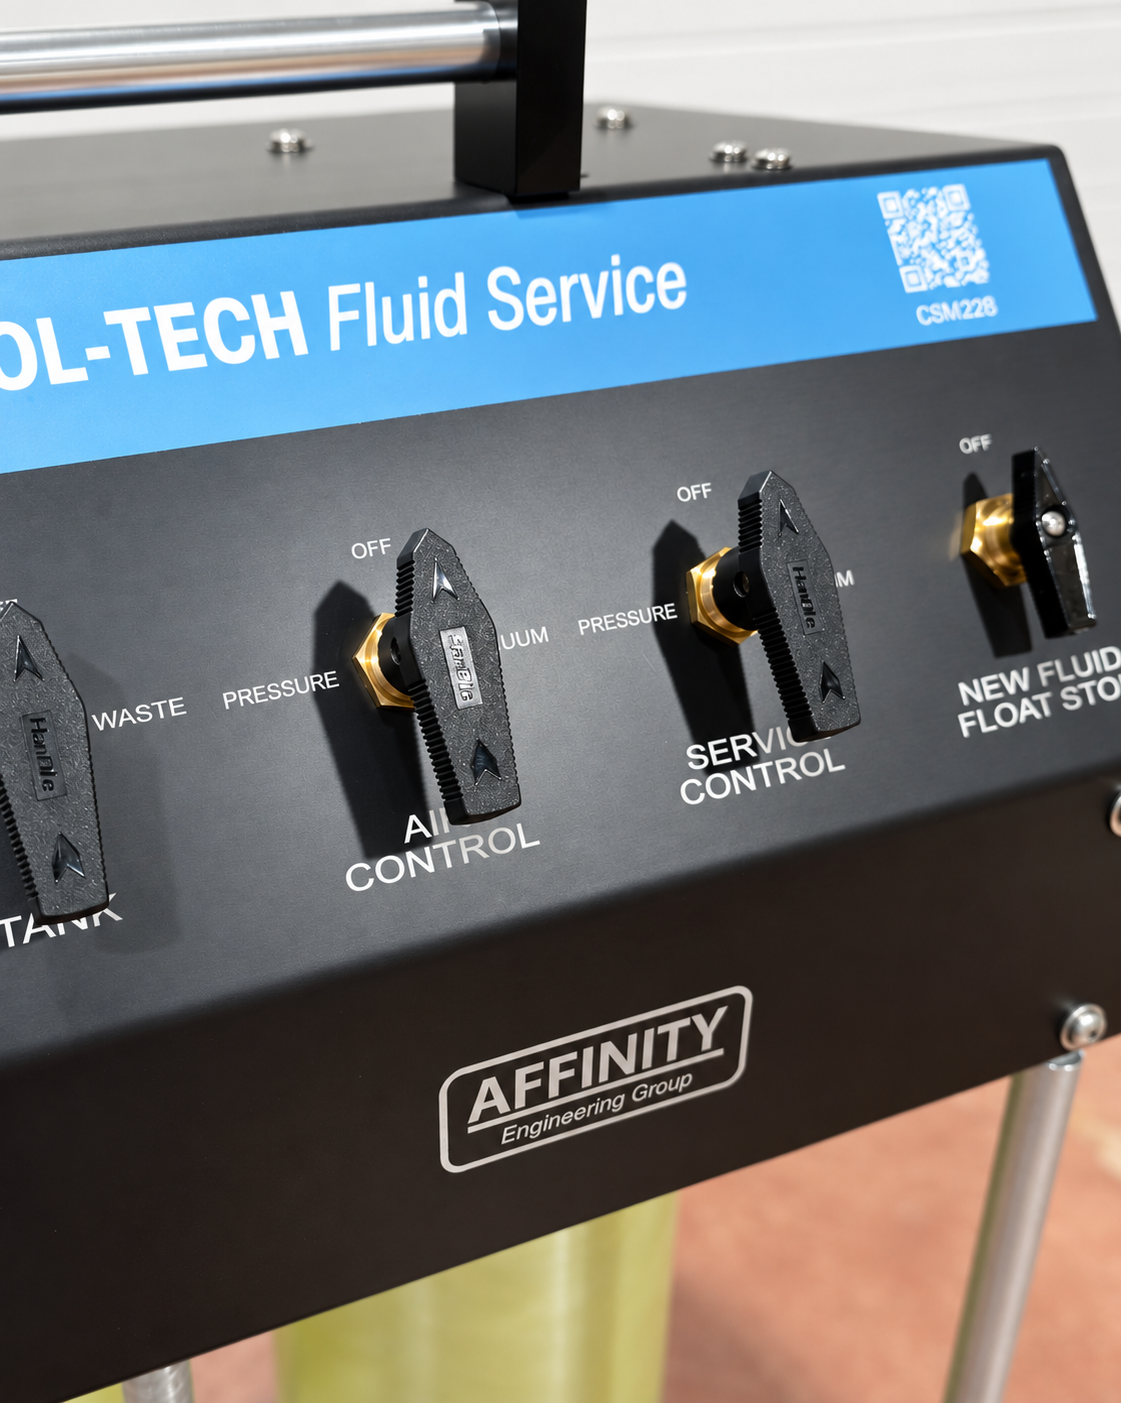
✔ Durable black anodized panel with laser-etched notes
✔ Includes vacuum & de-gas reservoir pressure adapters with initial machine purchase
| Weight | 79 lbs |
|---|---|
| Dimensions | 21 × 17 × 41 in |
JOB AID
Service Instructions
FOR COOLANT SERVICE:
① Check the panel to confirm all valves are in the “OFF” position.
② Connect the shop air to the lower front panel. If this is the first time of use, you may need to install a male airline fitting on the machine.
③ Open the vehicle hood and remove the cooling system fill cap. Add cooling system cleaner to the circulating cooling system through the radiator cap or cap on the de-gas bottle. If coolant needs to be removed to add the cleaner to the cooling system, attach the coolant cone adapter to the COOL-TECH process hose, turn the COOLANT valve to “WASTE TANK” and the AIR valve to “VACUUM,” and open the process hose valve. Vacuum out 12-15 oz, then shut the valve and return both panel valves to “OFF”.
④ Add the cooling system cleaner and install the cooling system cap. Start the engine and allow the cooling system cleaner to circulate for 10-15 minutes.
⑤ Fill the new fluid container on the front of the machine with the appropriate service volume of coolant mixed 50/50 with water (if using premixed coolant, fill new fluid tank with the premixed coolant only).
⑥ Carefully open the cooling system fill cap. If the fill cap is on the radiator, remove the overflow hose and attach the COOL-TECH process hose to the barb and turn the panel valves to “WASTE TANK” and “VACUUM” to vacuum any venting hot coolant into the waste tank.
⑦ Once the cooling system cap has been removed, install the appropriate COOL-TECH vacuum cone adapter and connect it to the process hose. Turn the COOLANT valve to “WASTE TANK” and the AIR valve to “VACUUM” to begin the exchange process. This can be done either with the engine running or engine off. With the engine running, take care not to extend the vacuum draw-down for more than (4) minutes to prevent the chance of overheating the engine. You will notice the coolant hoses on the engine collapse as the vacuum level on the engine cooling system increases. This is normal.
⑧ After the vacuum gauge is reading 20 in/hg or higher, immediately move the COOLANT valve to “NEW FLUID” and the AIR valve to “OFF”. This will draw the new coolant back into the engine cooling system. Do not attempt to assist with the cooling system refill. Allow this to continue until the vacuum reading drops to “0”.
⑨ If the first draw does not exceed at least a 50% exchange rate, allow the engine coolant to begin circulating again (restart the engine if performing the service with the engine off). Once the engine is warm again, repeat steps 7-8 until most of the new coolant has been drawn into the cooling system.
⑩ Add the cooling system treatment to the engine cooling system. Coolant can be removed from the engine cooling system using the process in Step 3. Once the treatment is added to the engine cooling system, check the coolant level. If more coolant is needed, turn the TOP-OFF valve to “ON” and use the TOP-OFF hose to fill the cooling system to the appropriate level. When finished, turn the valve back to “OFF”. Actuate the fill gun handle, venting pressure back into the new coolant tank or an appropriate waste tank to depressurize the TOP-OFF hose.
⑪ Empty the waste fluid tank after each service by attaching shop air, positioning the waste fluid hose in an appropriate disposal container, and moving the COOLANT valve to “WASTE TANK” and the AIR valve to “PRESSURE”. Slowly open the process hose valve. Be careful as the waste tank empties to control the air blow out when the tank is empty. Move the valves immediately to “OFF”.
⑫ Return the hoses and adapter to the machine and disconnect the airline.
Only logged in customers who have purchased this product may leave a review.
Reviews