
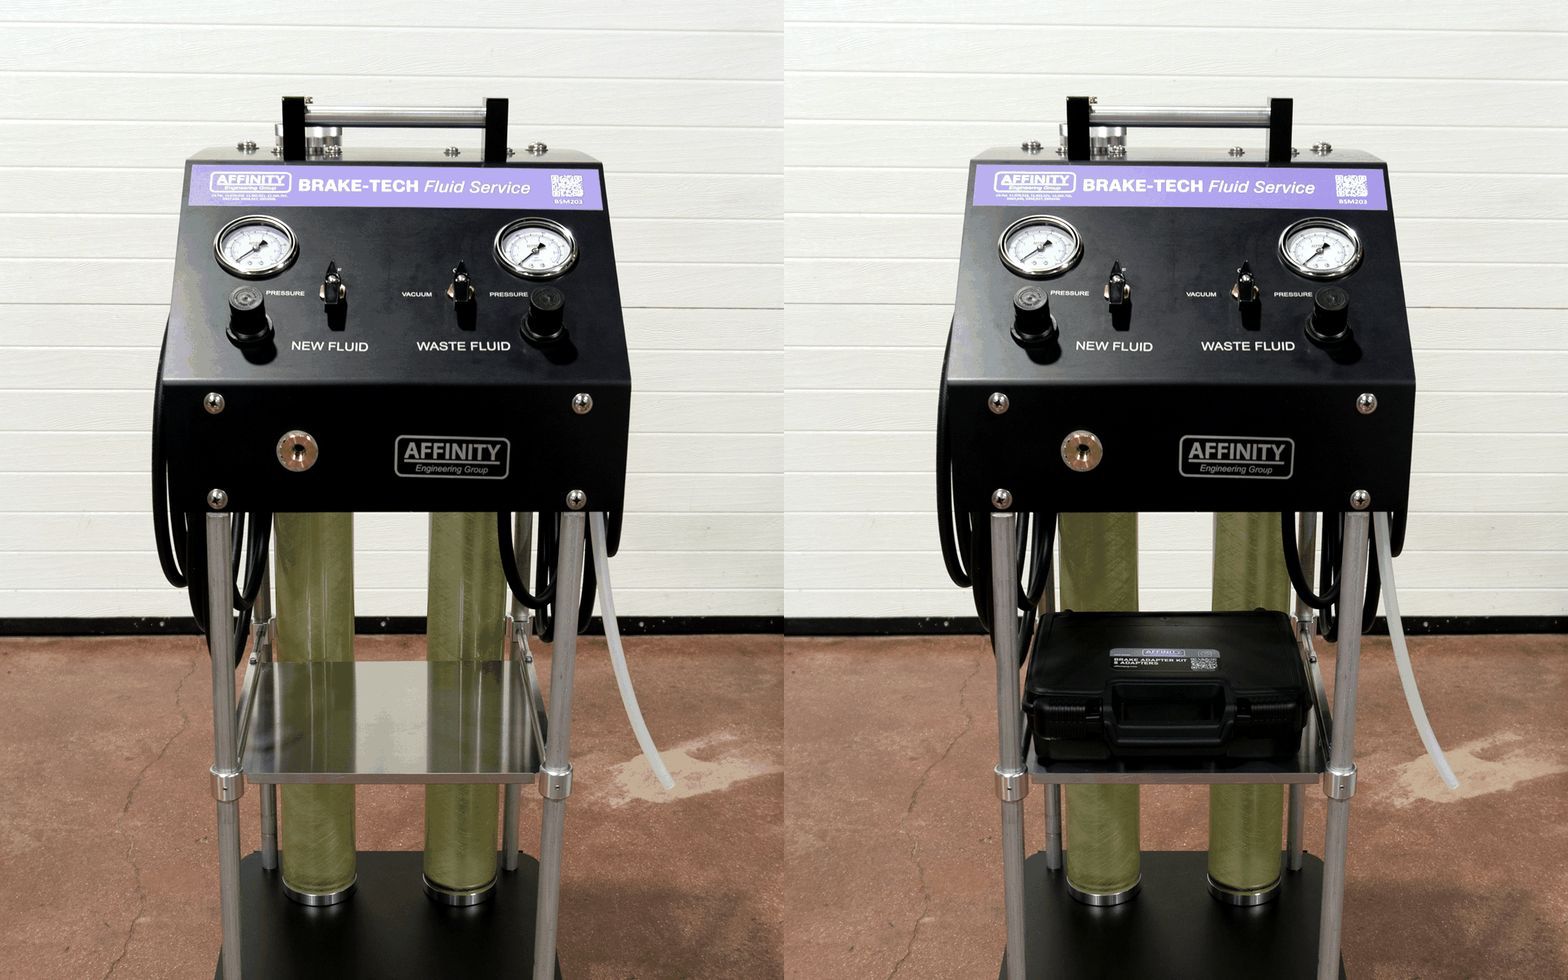
BRAKE-TECH Fluid Service (BSM203)
$3,150.00
Coming Soon
Apple Pay and Google Pay require an account login before checkout.
Please log in or create an account first.
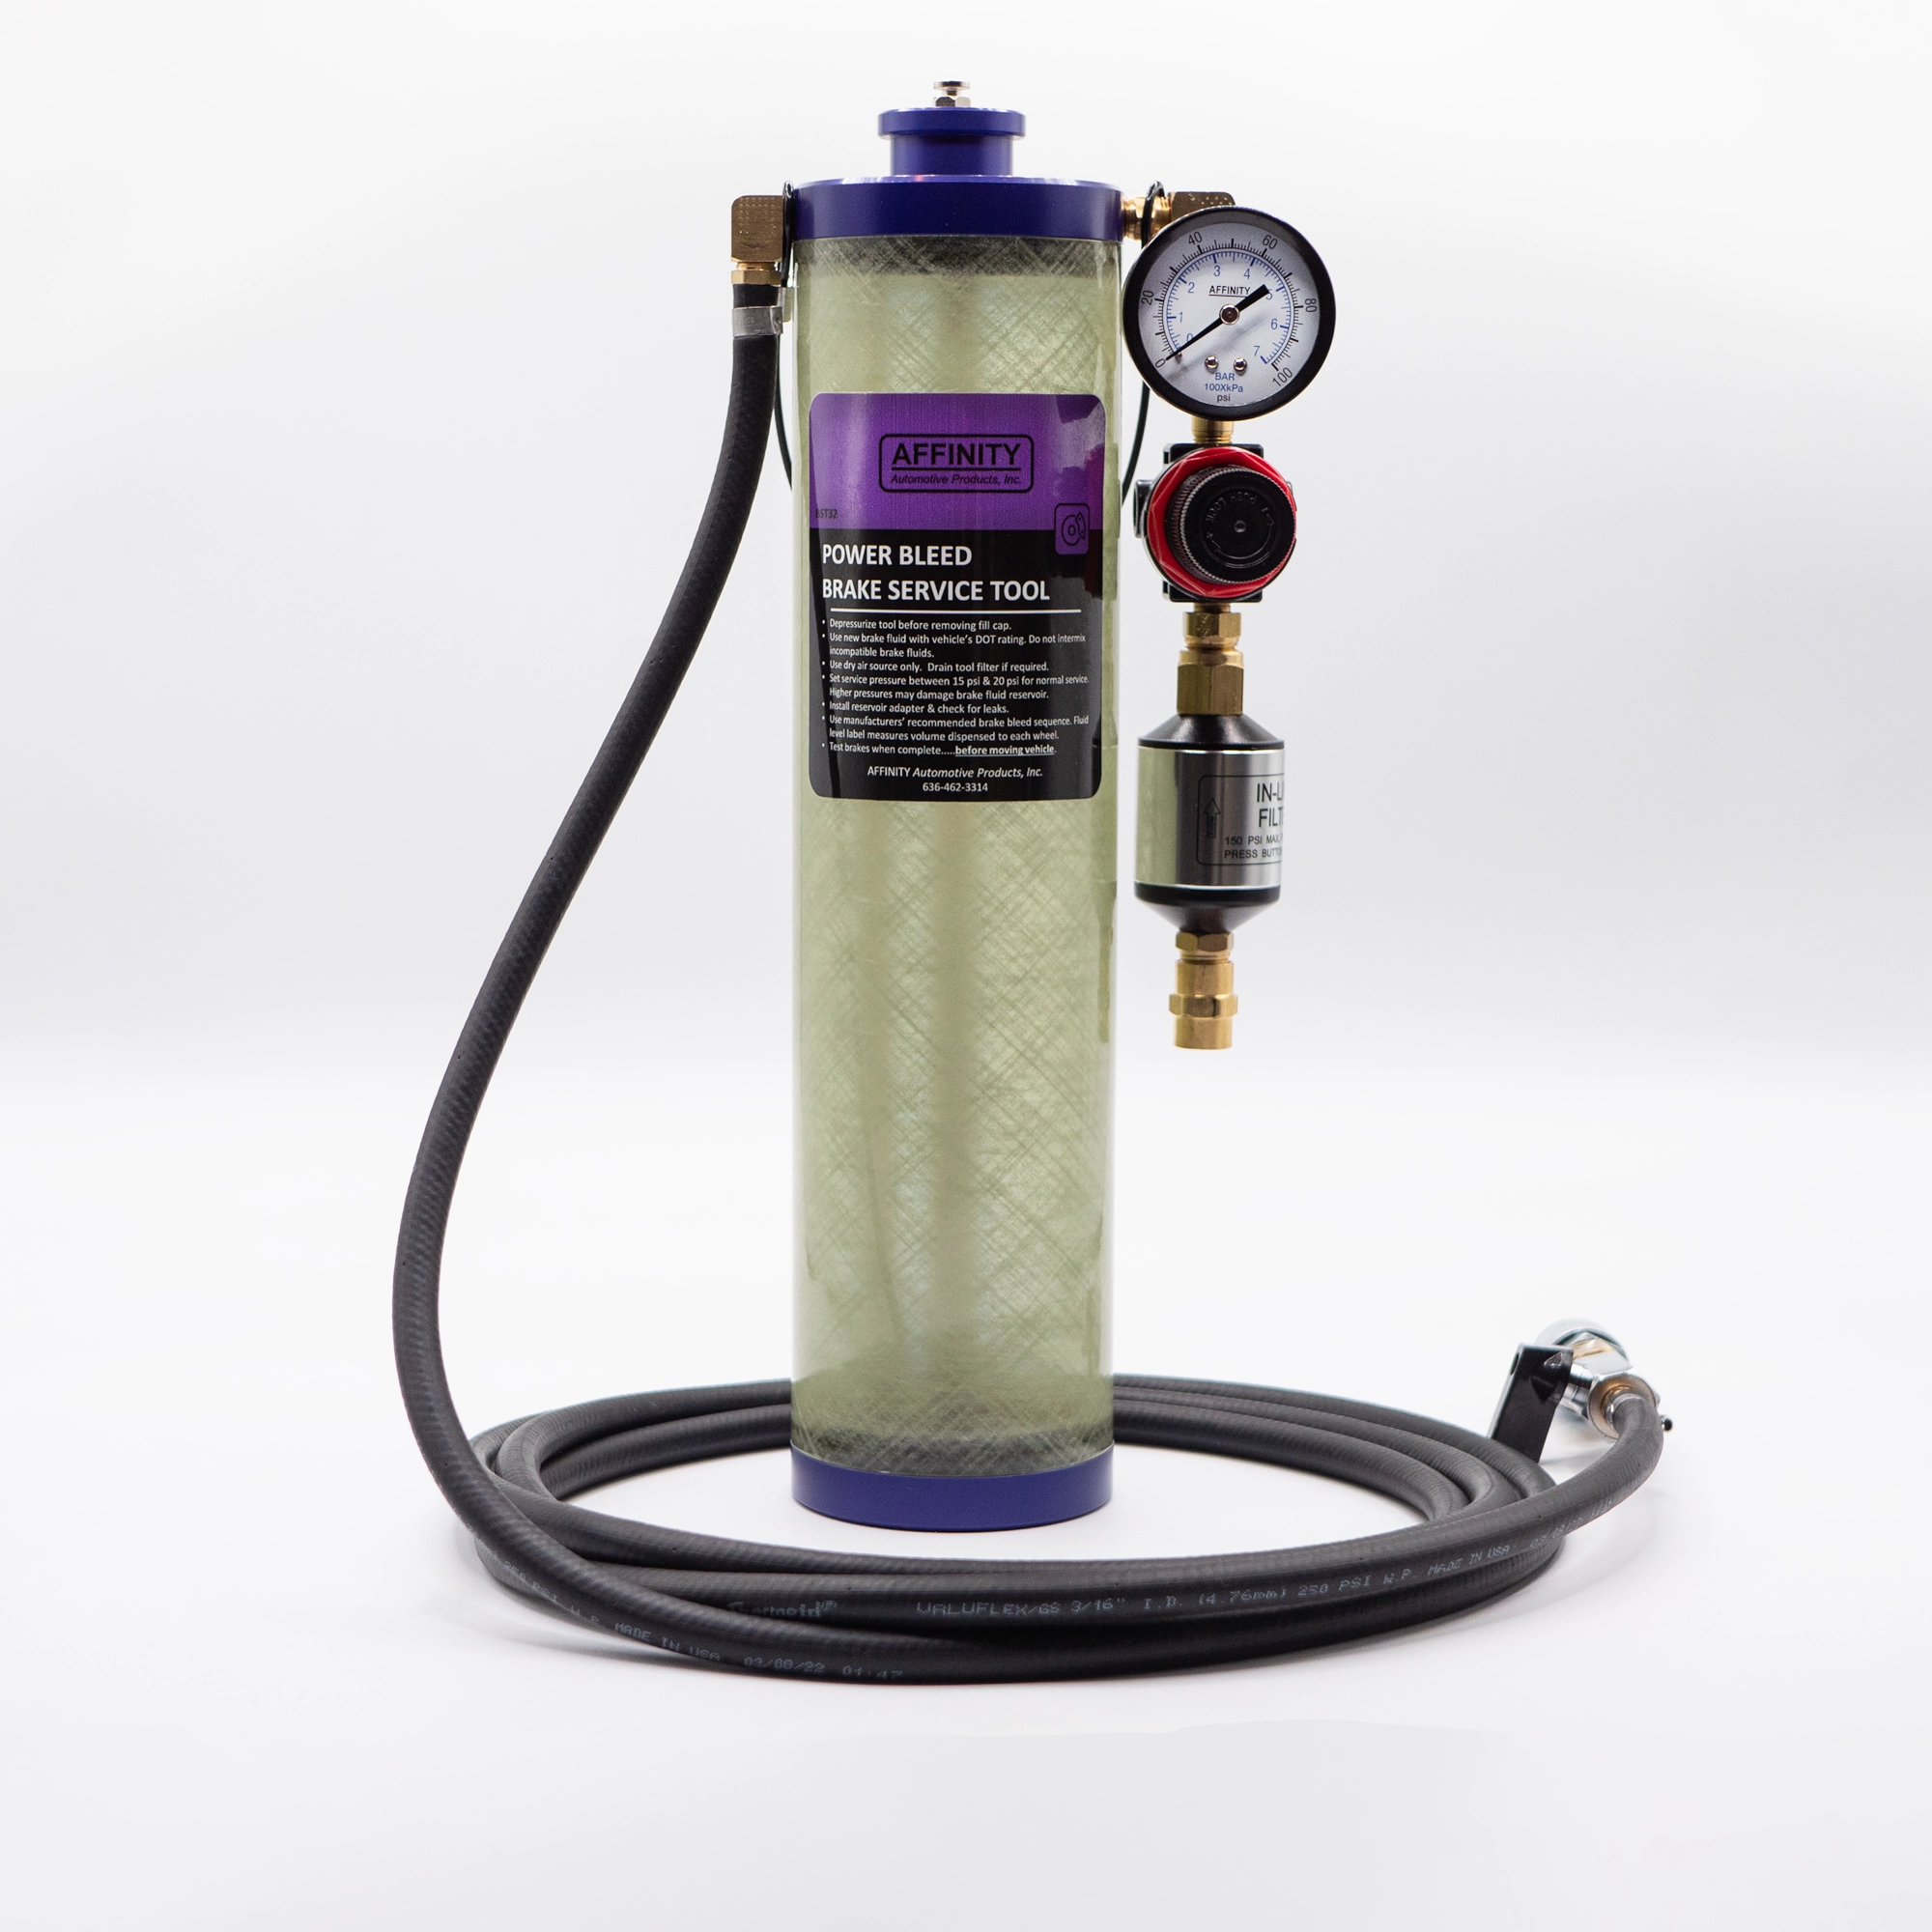
Brake Tool (BST32)
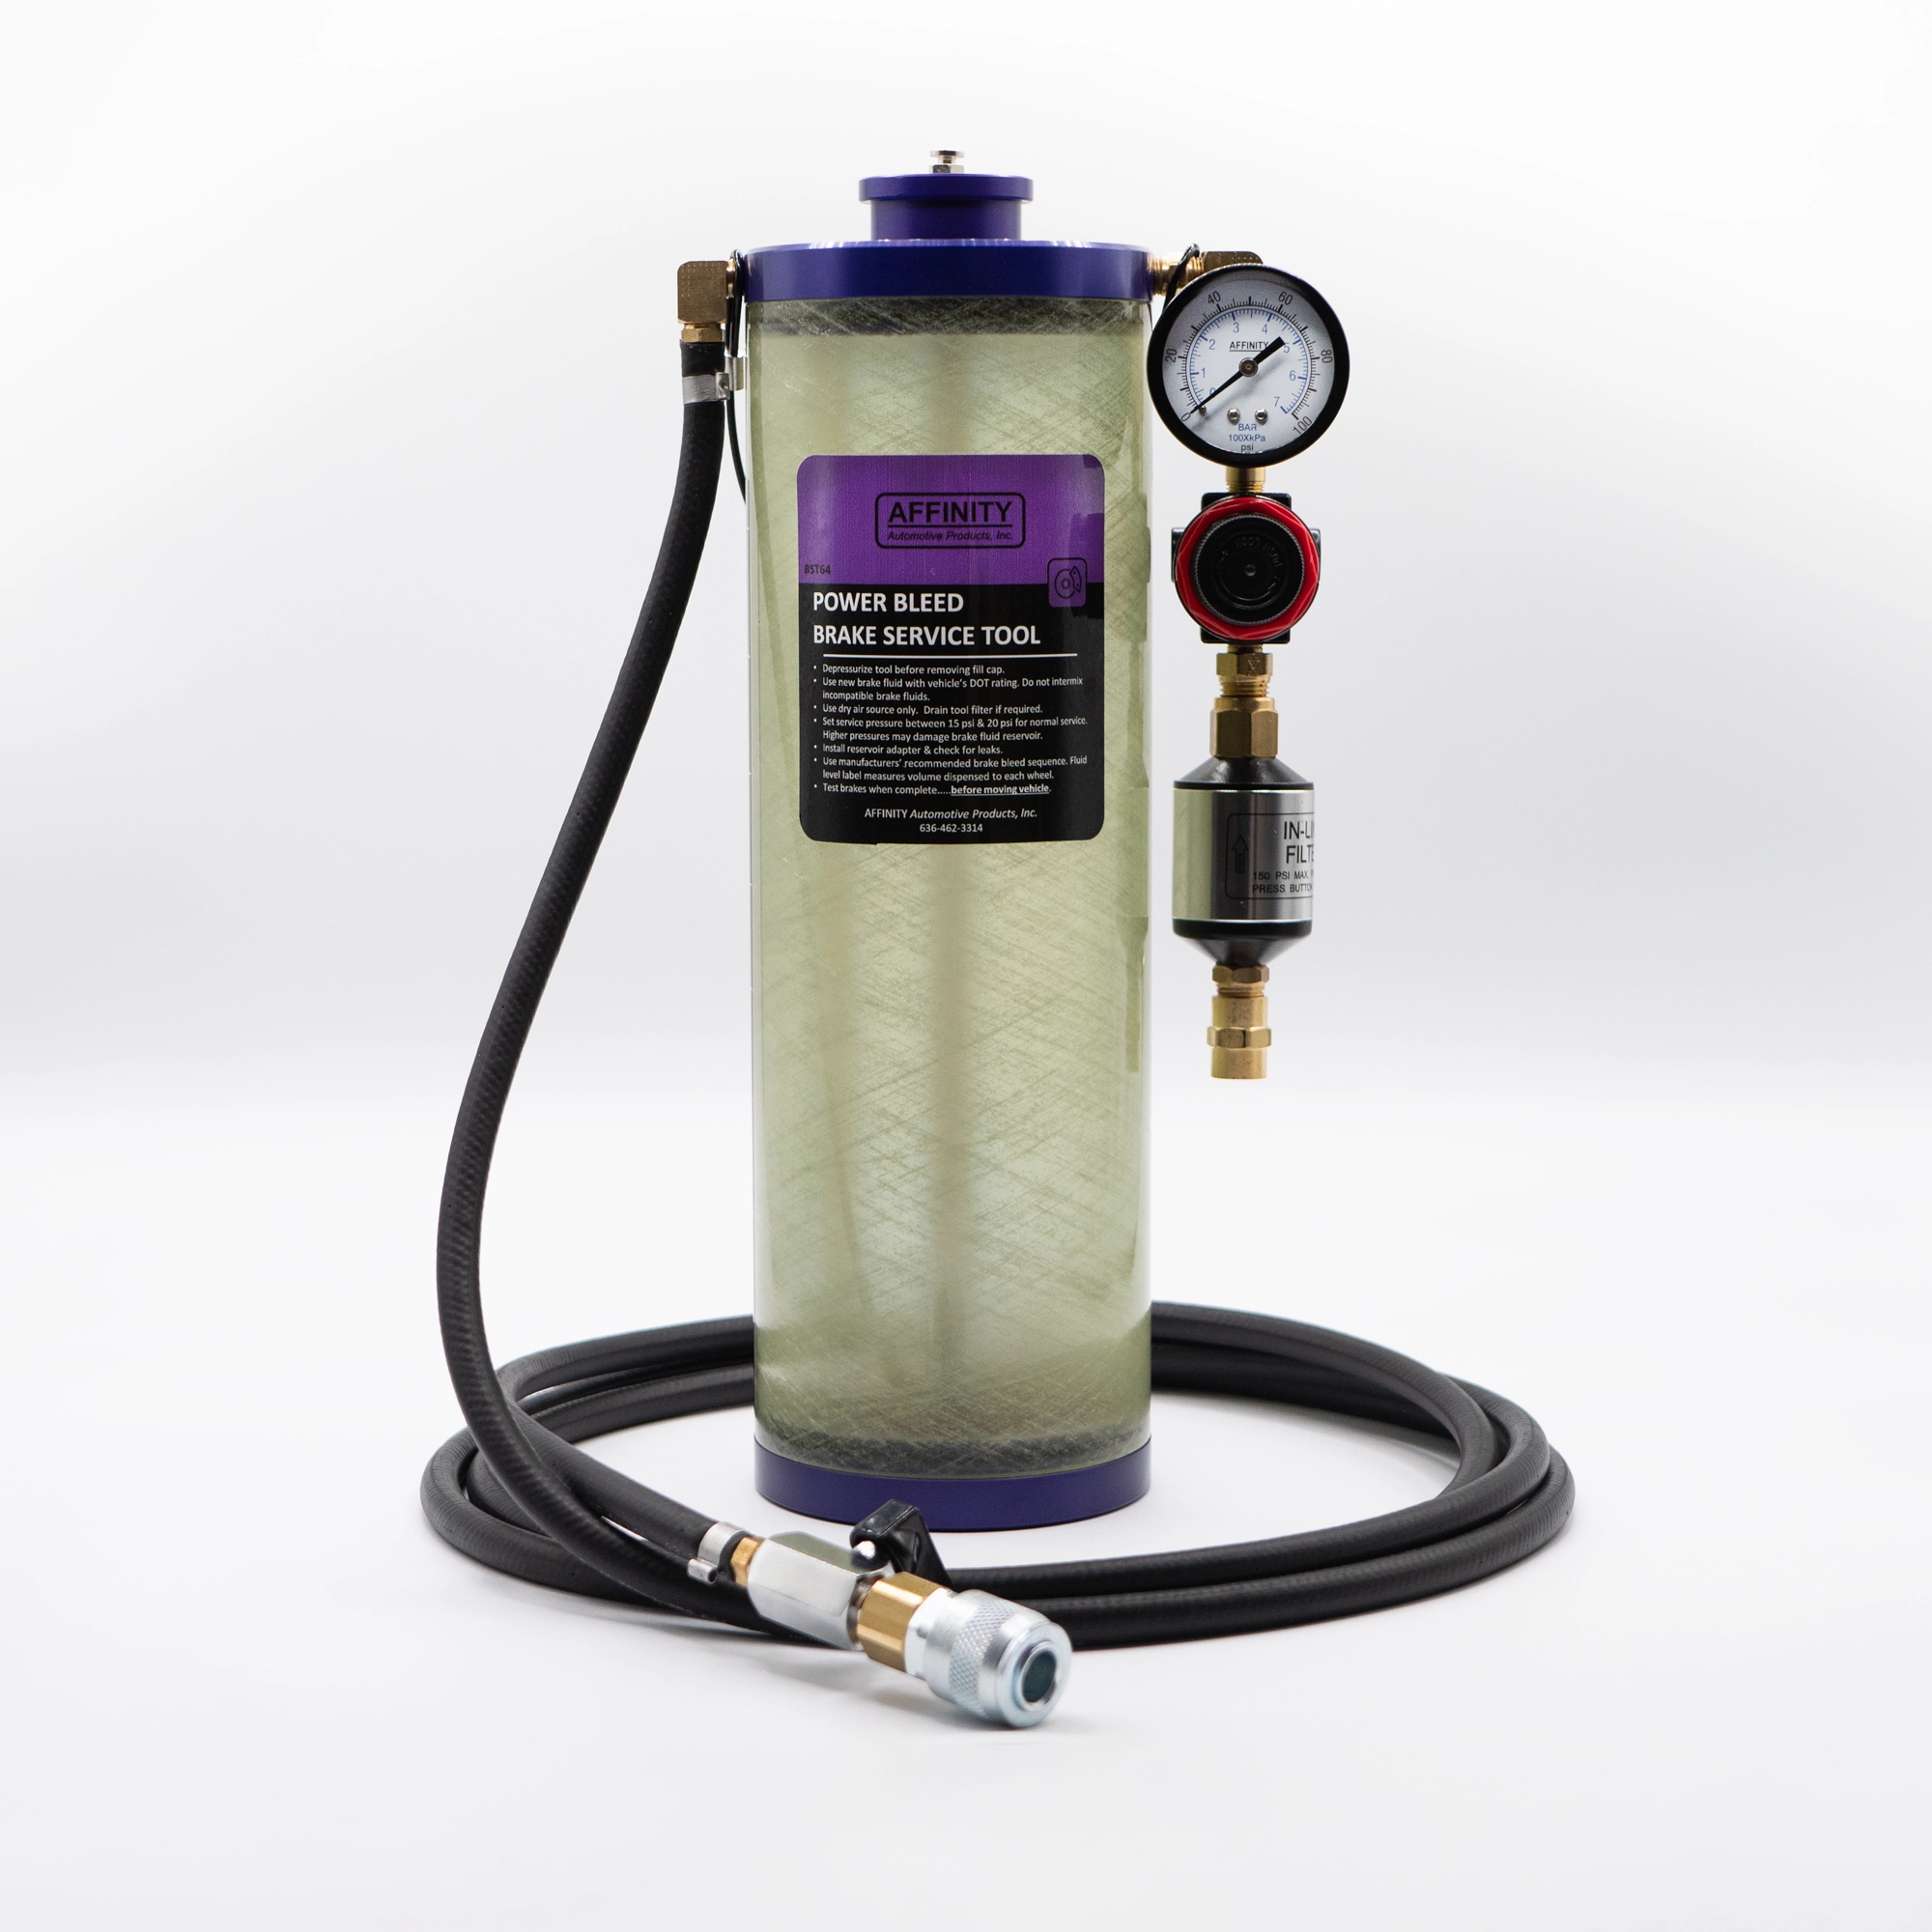
Brake Tool (BST64)
RECOMMENDED BRAKE FLUIDS
BY WYNN’S
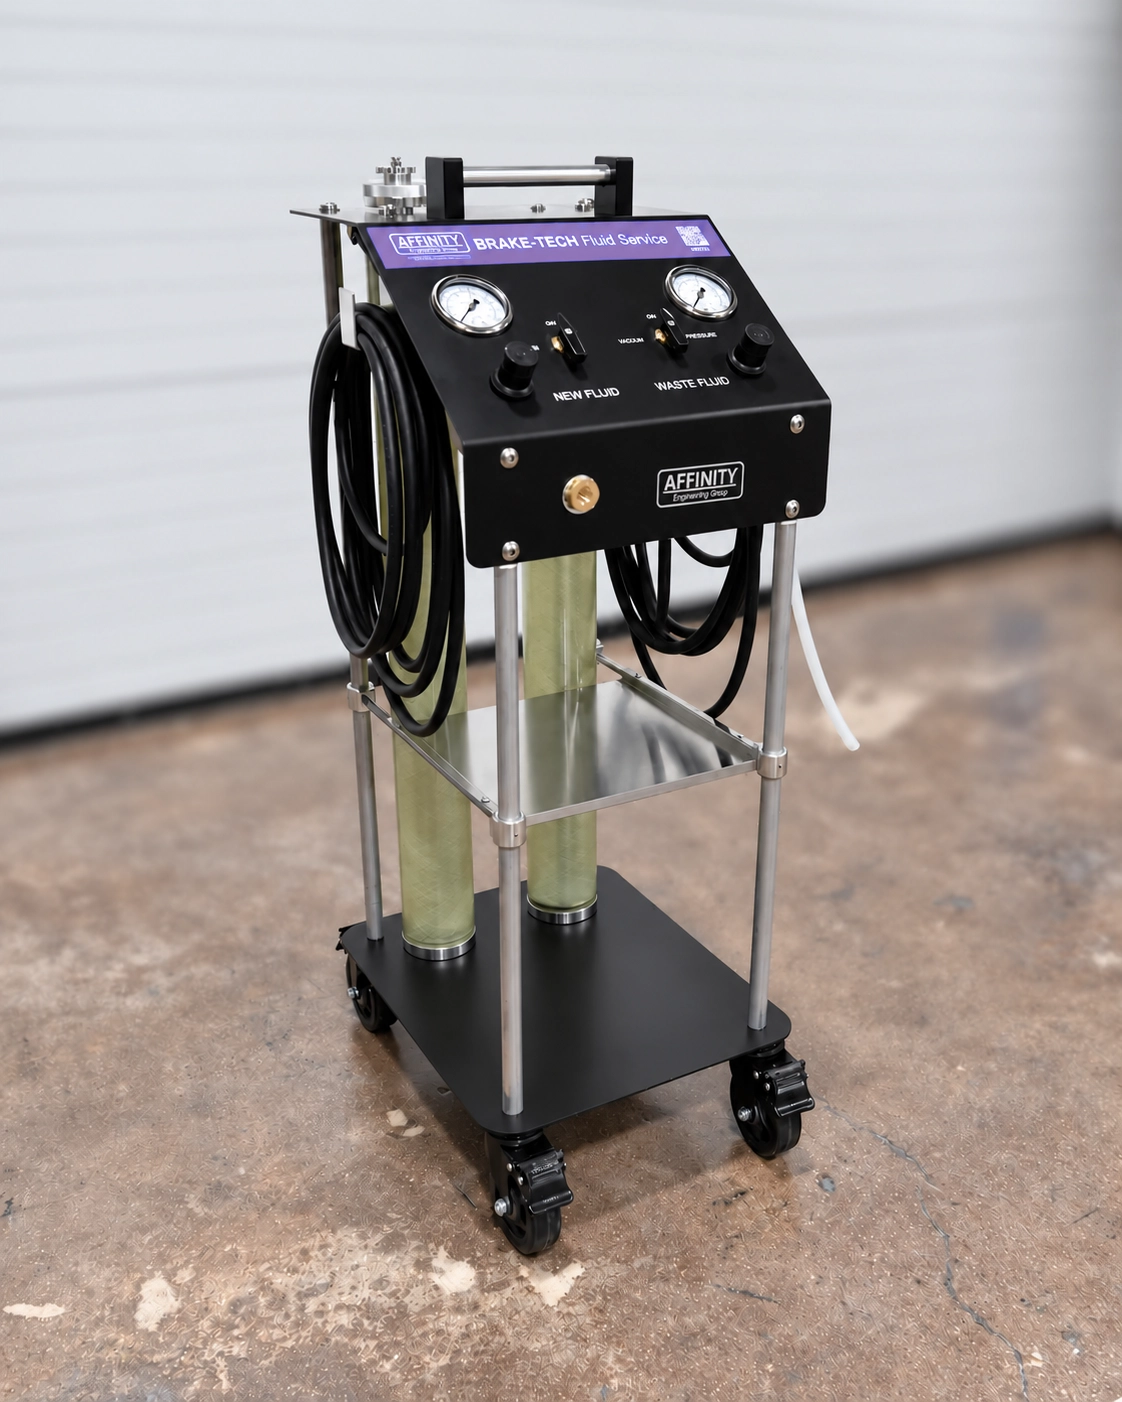
✔ Fully pneumatic design & durable valves provide long life
✔ Pneumatic vacuum generator provides excellent suction, no pump failures
✔ Adjustable pressure and vacuum up to 100 PSI
✔ Complete brake fluid exchange in 10 minutes or less after hookup
✔ Low-fluid shut-off helps prevent air from entering the system
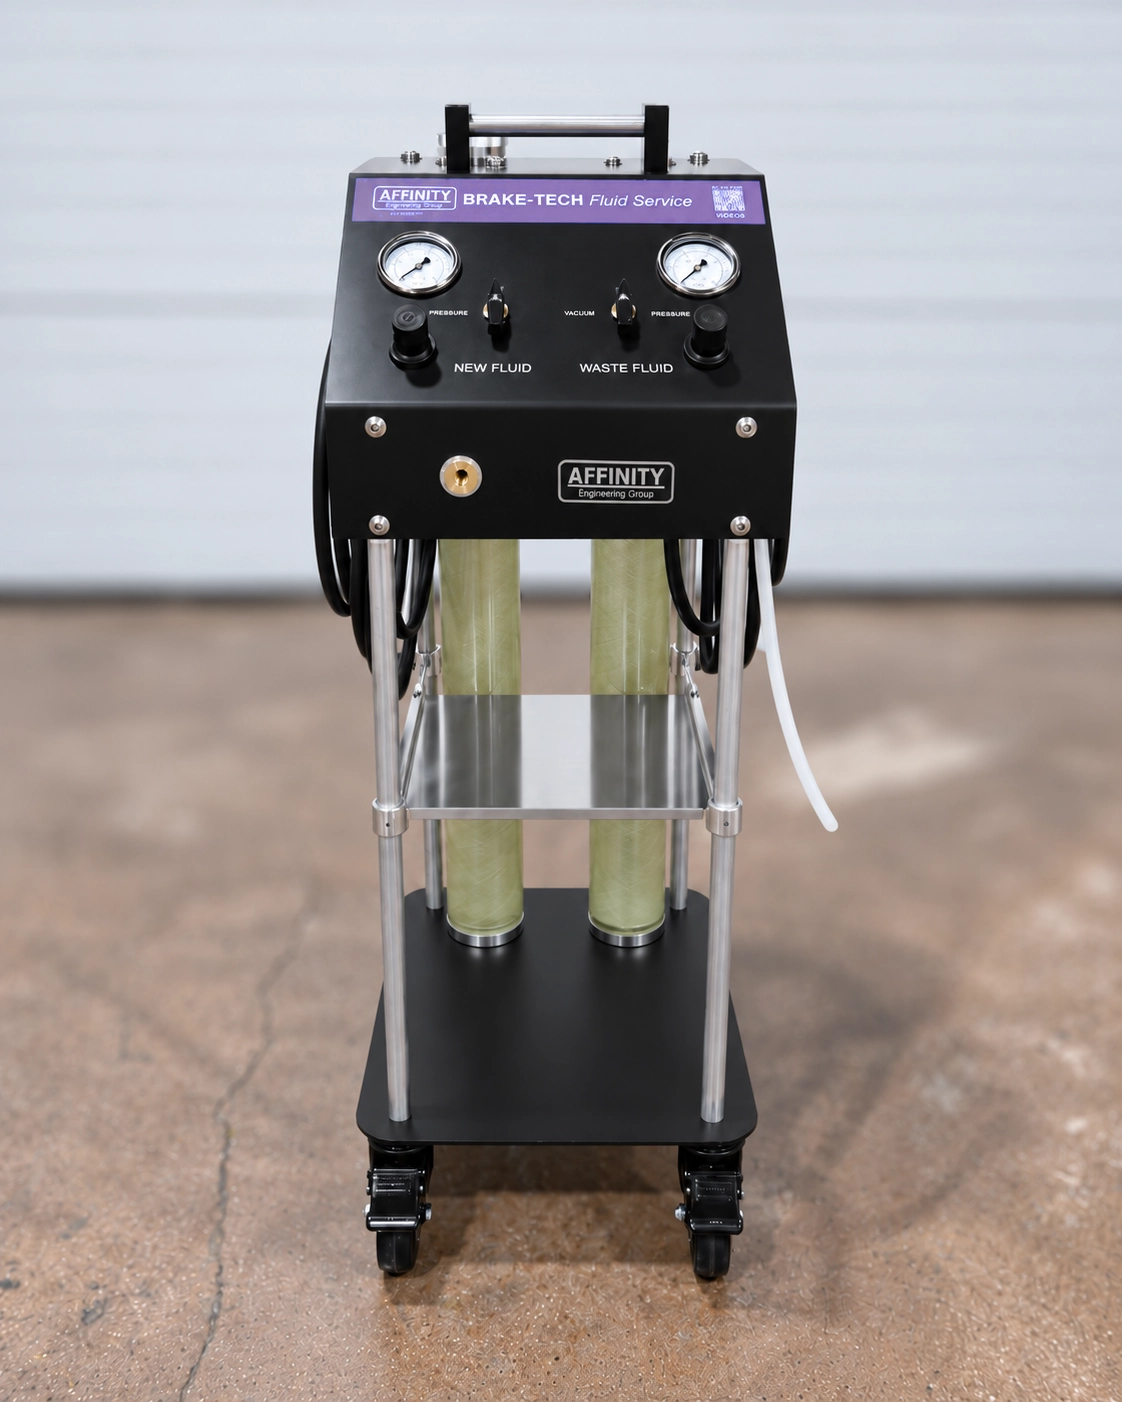
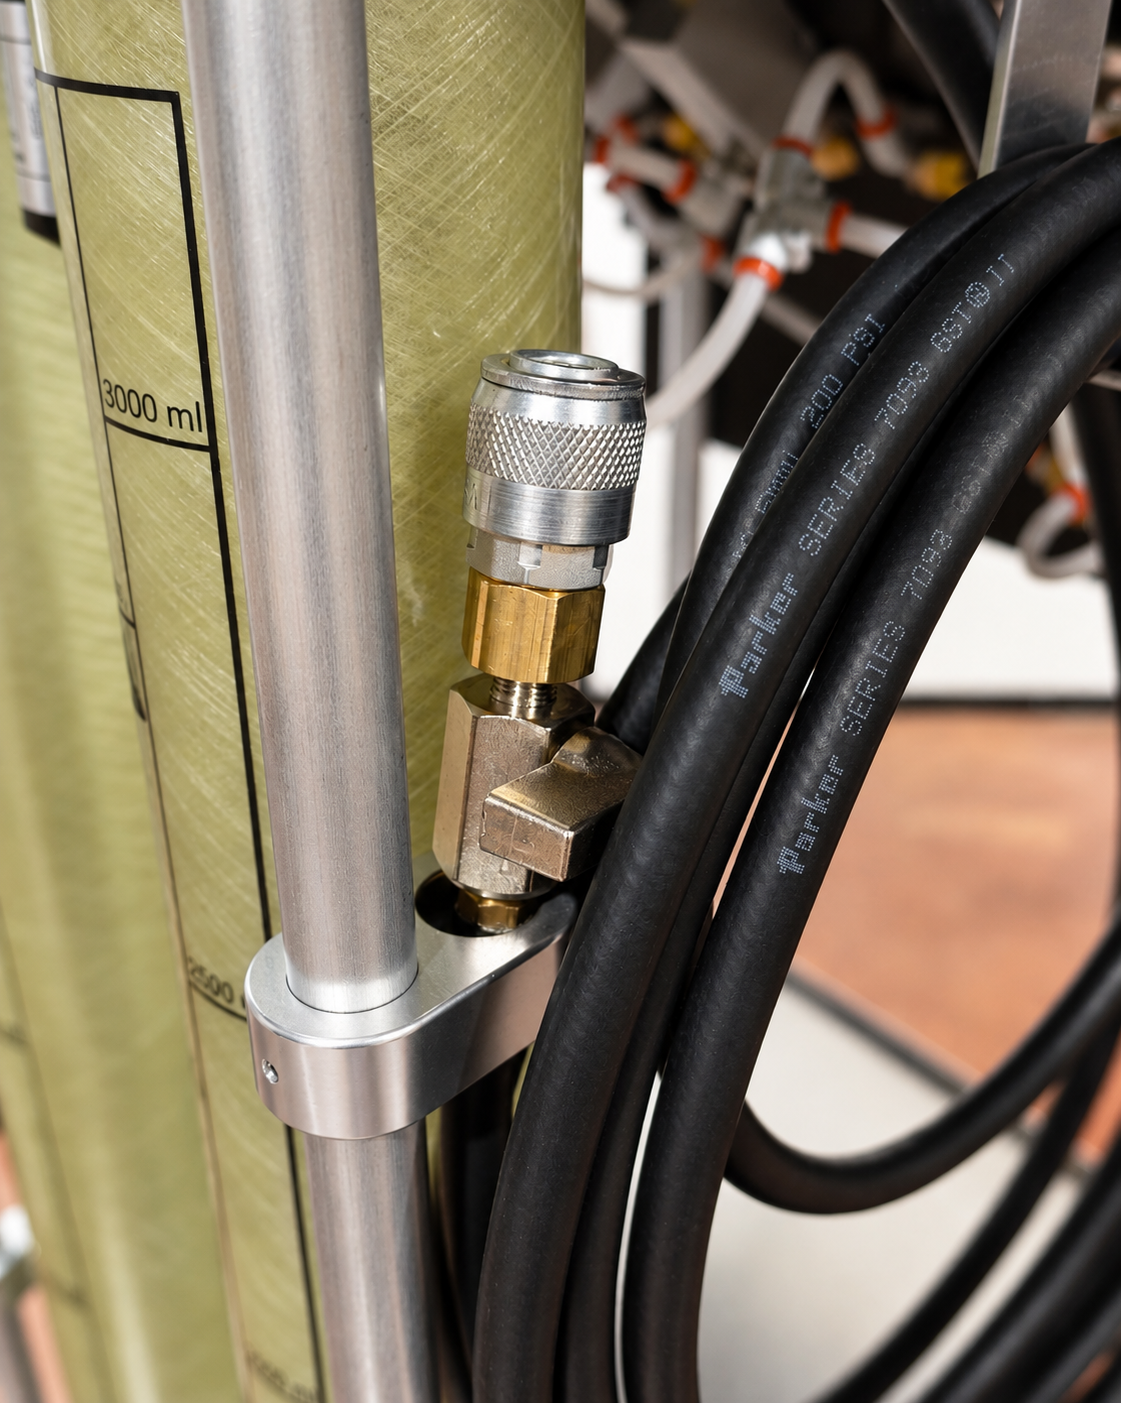
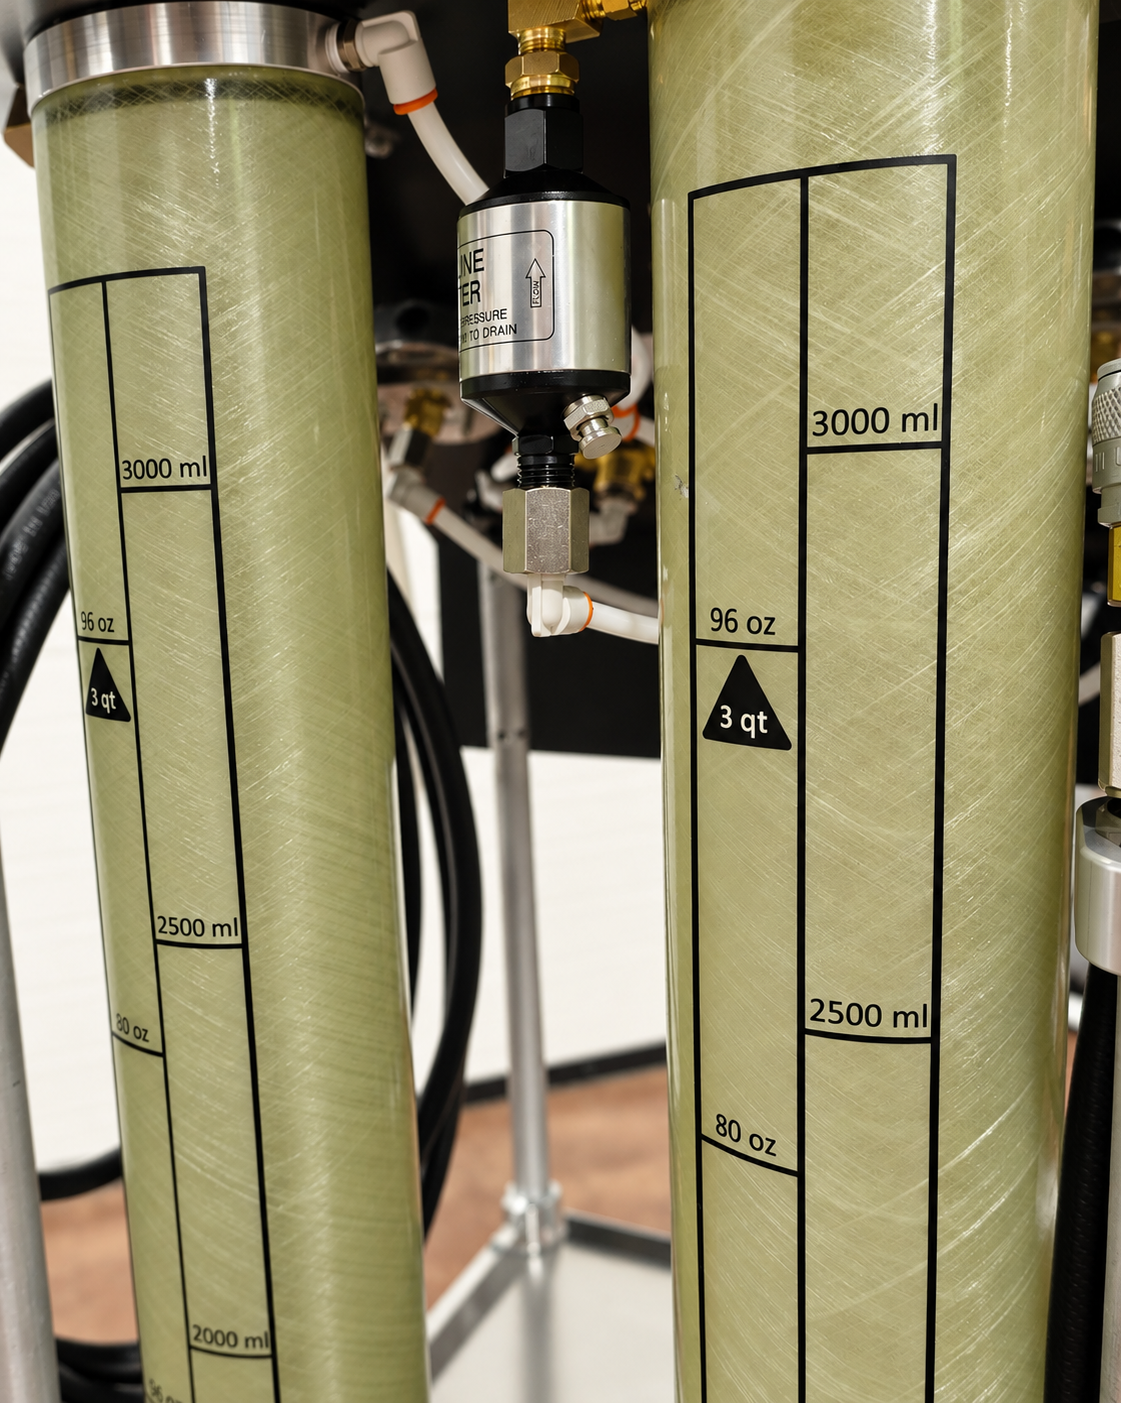
✔ Clear 3 qt. tanks for easy fluid level monitoring
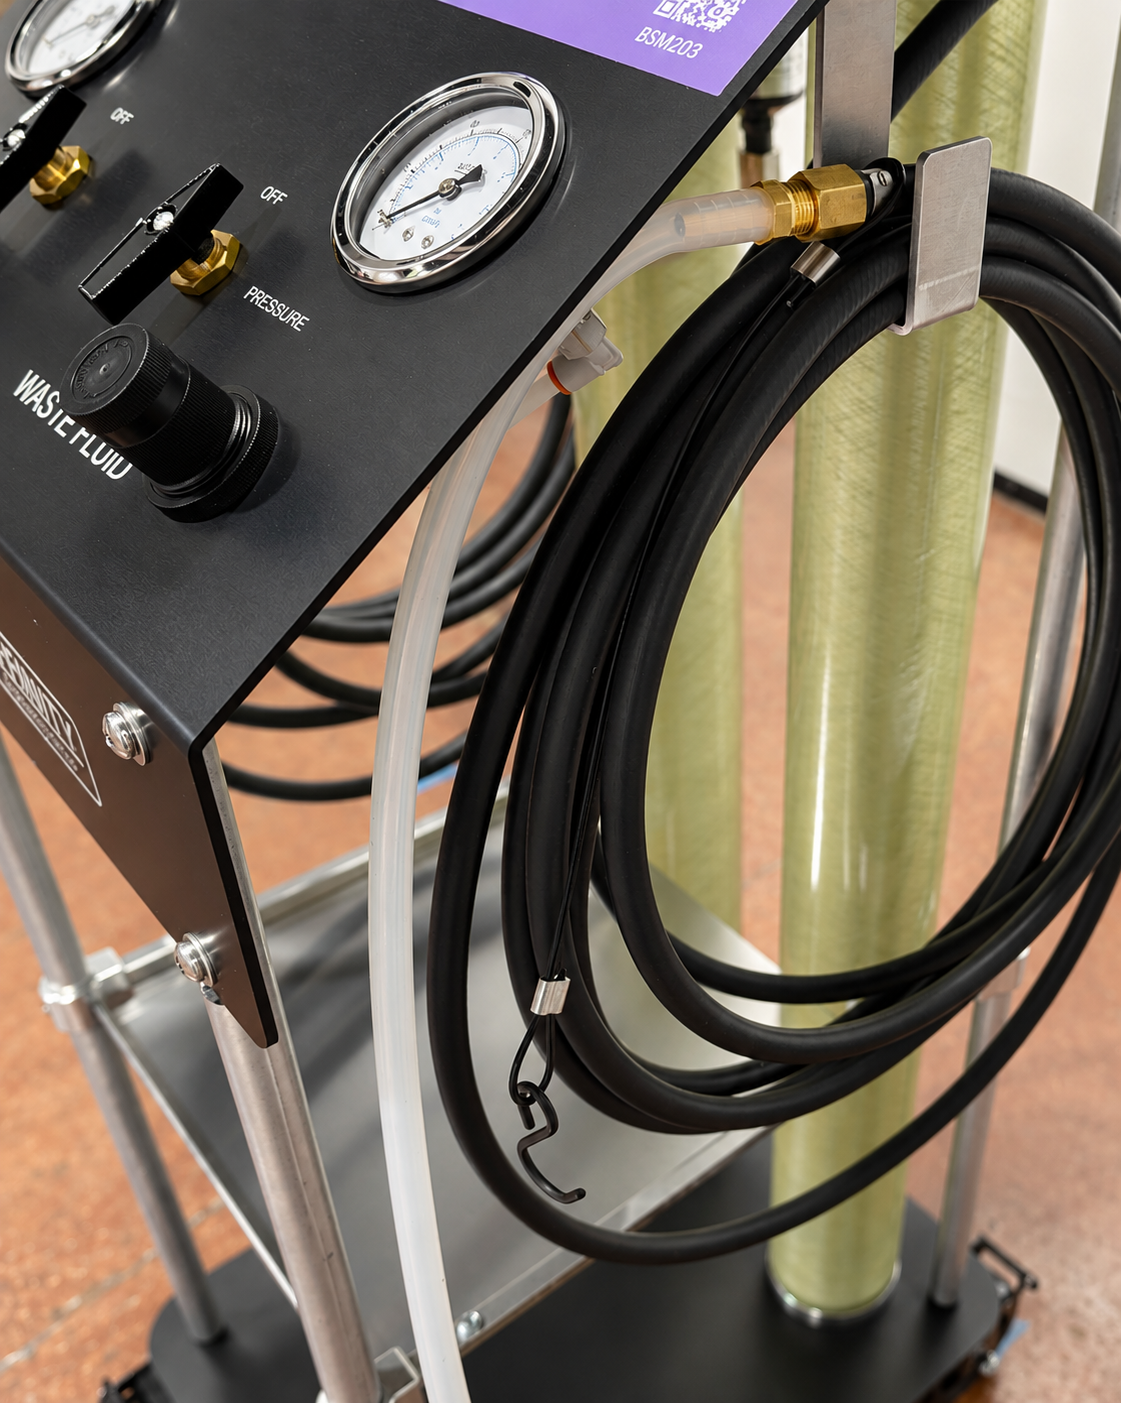
✔ Separate controls for new and waste fluids
✔ Adjustable flow speeds for quick, controlled service
✔ Technician-friendly one-person operation
✔ Compatible with conventional, hybrid, and electric vehicle brake systems
✔ Durable, well-balanced cart with easy-roll casters
✔ Adapter storage trays keep commonly used adapters within reach
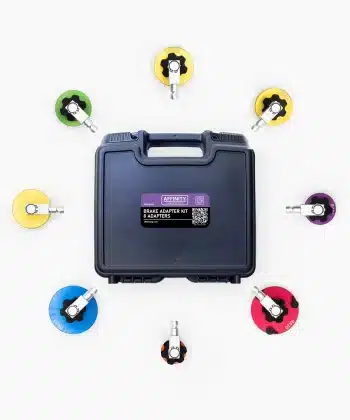
✔ Durable metal brake reservoir adapters available separately
✔ Durable black anodized panel with laser-etched notes
| Weight | 40 lbs |
|---|---|
| Dimensions | 17.5 × 15 × 41 in |
“Probe” style brake adapters available:
BAK5 Kit includes BA01, BA02, BA03, BA04, and BA05.
BAK8 Kit includes BA01, BA02, BA03, BA04, BA05, BA10, BA13, and BAH1.
(check Application Chart for vehicle models)
JOB AID
Service Instructions
FOR BRAKE SERVICE:
① Check the panel to confirm all valves are in the “OFF” position.
② Check the new fluid tank gauge (or pressure release button on the cap) to confirm the new fluid tank is depressurized. If not, rotate the valve to “Pressure” to vent the tank. Return to “OFF”.
③ Remove the new fluid tank cap, then fill the tank with the appropriate brake fluid to the volume required for the vehicle being serviced. Reinstall the tank cap and tighten snugly.
④ Connect the shop air to the lower front panel. If this is the first time of use, you may need to install a male airline fitting on the machine.
⑤ Open the vehicle hood and remove the brake fluid reservoir cap. Turn the WASTE FLUID valve to “VACUUM” and set the pressure to 30-40 psi. Be cautious of higher pressure since the higher vacuum generated may increase the chance of air being left in the bleeder valve during the exchange service.
⑥ Suction out the old brake fluid in the reservoir. Turn the valve back to “OFF” when complete.
⑦ Install the appropriate brake fluid reservoir adapter and tighten to seal the connection. Attach the new fluid service hose to the adapter.
⑧ Turn the NEW FLUID valve to “PRESSURE” and set the pressure to 15-20 psi for normal service. Some vehicles may take higher pressure to perform the exchange. Be careful not to over-pressurize and damage the plastic reservoir. Open the new fluid hose process valve. The reservoir should fill with new fluid. If it does not, loosen the adapter connection to allow a quicker fill. Take care to shut off the process valve before fluid reaches the top. Retighten the adapter. Open the process valve again and confirm there are no leaks.
⑨ Lift the vehicle so each brake bleeder valve can be accessed. Use the manufacturer’s recommended bleeding sequence for each wheel. If none is stated, use a traditional “Z” pattern starting with the far back wheel.
⑩ Turn the WASTE TANK valve to “VACUUM” and attach the waste hose to the bleeder valve; open the bleeder valve approximately ½ turn until the old fluid begins flowing. Continue until the fluid has cleared or approximately ¼ of the available fluid in the new fluid tank. Attach the waste hose hanging cable around an under-vehicle mechanical part to hold in position while the fluid is being exchanged.
⑪ Close the bleeder valve and move to the next wheel. Continue until all (4) wheels are serviced. Note: Some vehicles may have (2) bleeder valves per wheel. Service each bleeder valve, removing fluid until clear or approximately ¼ of the new fluid in the new fluid tank for the combined two bleeder valves on each wheel.
⑫ Special Attention: Ensure the fluid exchange service is stopped prior to all the new fluid being removed from the new fluid tank. The new fluid tank has a low-level shut-off float valve that will stop fluid flow at the bottom of the tank to prevent air from pushing into the vehicle brake fluid system. If the service continues after the float valve closes, the suction hose may create an air pocket in the final wheel being serviced. When in doubt, remove the suction hose on the last wheel bleeder to ensure new fluid is still flowing from the bleeder valve before closing the valve. If it is not, remove the air line, depressurize the new fluid tank, and add more brake fluid. Repeat step 8 with the waste hose removed until brake fluid flows from the bleeder valve. Shut the valve and continue completion of the service.
⑬ When the service is complete, move both service valves back to “OFF”.
⑭ Move the machine from under the vehicle and lower the vehicle to the floor. Remove the hose from the brake fluid reservoir adapter, remove the adapter, and check the fluid level in the reservoir. If the reservoir is overfilled, use the waste fluid hose to remove fluid to the appropriate level and reinstall the reservoir cap.
⑮ Always start the engine and depress the brake pedal several times to ensure there is a firm pedal after the service, before moving the vehicle. This will help detect if air was left in the system or one of the bleeder valves was not closed completely after servicing that wheel.
⑯ Empty the waste fluid tank after each service by attaching shop air, positioning the waste fluid hose in an appropriate disposal container, and moving the WASTE FLUID valve to “PRESSURE”. Be careful as the waste tank empties to control the air blow out when the tank is empty. Move the valve immediately to “OFF”.
⑰ Remove the air hose connection. To depressurize the new fluid tank, turn the valve to “PRESSURE” with the air hose removed. Once the pressure is fully relieved, return the valve to “OFF,” and it is ready for the next service.
Only logged in customers who have purchased this product may leave a review.
Reviews